NOTE: Check at the bottom of this article for Change Log.
As of the date this was published, the current version is 5.2.9 and that is what this installation script is meant for. Your mileage may vary depending on the version installed.
If you do not already have a DigitalOcean account, please consider signing up using my referral link. You will get $10 credit (good enough for 2 months of the lowest VPS/droplet they offer) and once you have accumulated a billable amount, I’ll get a kick back. This helps us both and encourages future development. Thanks!
Create a new droplet by clicking the green “Create Droplet” button after logging in.

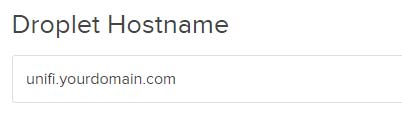
Enter a fully qualified domain name for your controller. This makes it easier later if you do wish to refer to the controller by name rather than IP address.
If you plan on having several sites, it is suggested that you leave the size to the $10 plan (usually good for up to 100APs, sometimes more). If you are in the United States, the default NYC 3 datacenter is just fine. Other countries should choose something closer to them. Leave the operating system set as Ubunutu 14.04 x64 and then scroll to the bottom and click “Create”.
![]()
After a few minutes, you will receive an email containing the IP address and root password for the droplet. Connect to your server via SSH using the credentials sent in the email. Download PuTTy here if you do not have a SSH client. You will be prompted to change the root password upon logging in.
Type in the following commands (press enter after each one):
curl -o install.sh http://www.jeff-ferguson.com/?ddownload=1578
chmod 777 install.sh
./install.sh
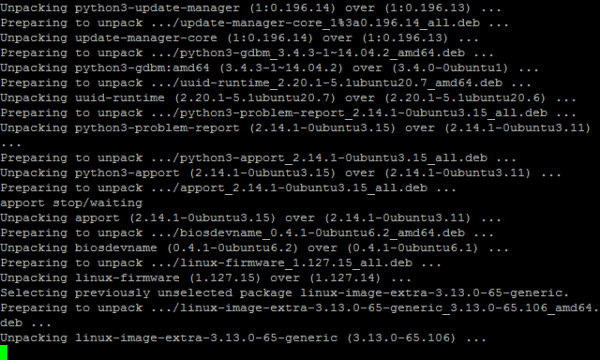
At this point, a number of processes will begin including updating the operating system, configuring swap file and firewall, and finally downloading and installing the UniFi controller.
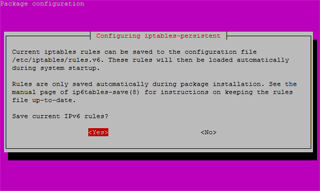
During the process, you will be presented with two pink screens. Simply press the Enter key twice to confirm the settings.
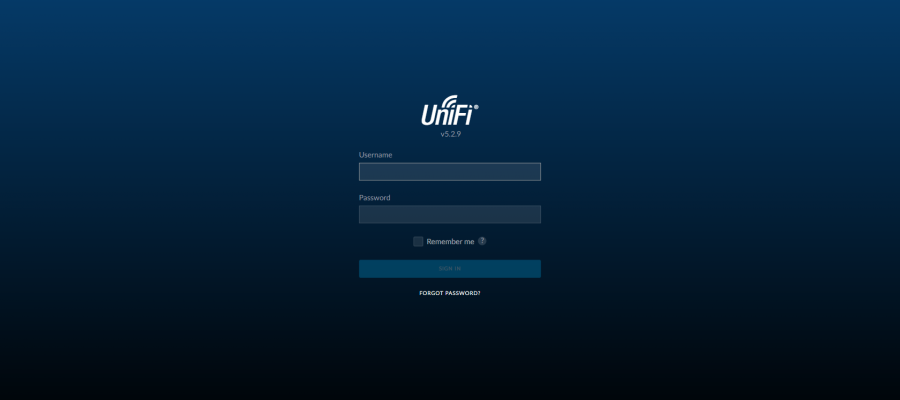
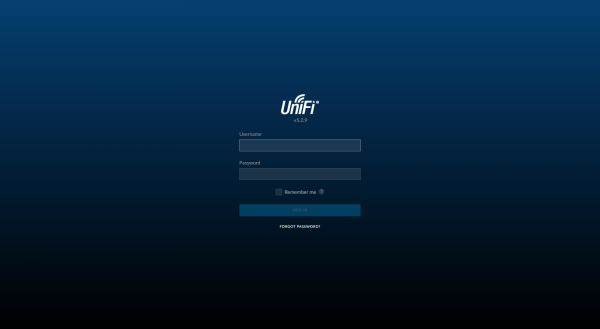
Once the script has finished, navigate your web browser to the IP address of your droplet on port 8443 (ex: https://10.11.12.13:8443). You’ll get a SSL certificate error since the controller has a self-signed certificate, confirm the exception and you’ll be presented with the controller setup. After proceeding through the setup wizard, you’ll be prompted with the login screen.
Now that the controller is setup, you will need to provision your access points with layer 3 adoption. Ubiquiti covers this well in their tutorial.
Changelog:
Jan-6-2016: version 2.1
No change in version or code; verified testing with 4.7.6
Oct-24-2015: version 2.1
Added ‘haveged’ package to eliminate entropy issues encountered here and here.
Oct-18-2015: version 2.0
Script revamp to work with UniFi version 4.7.5
Nov-17-2016: version 3.0
Script revamp to work with UniFi version 5.2.9