Slide-On Drill Press Table
If you search Google or YouTube for a drill press table design, chances are it will be semi-permanently attached to the drill press table using some type of bolts. Since I use my drill press for more than just wood, having the ability to take the drill press table off without bothering a wrench seems like a good idea.
Most drill press tables will be metal and about 1/4″ thick. Let’s take advantage of this design by creating a track for our table to slide onto the metal table then secure it with a simple knob. The second goal was to keep this design as simple as possible and with minimal expense.
Since all models are different, you will want to make sure your dimensions are the same as mine.
Materials:
- (1) 24″ x 24″ x 3/4″ plywood
- (1) 24″ x 24″ x 1/4″ plywood
- (1) 1/4-20 knob with threaded post
- (2) toilet bolts
- (2) 1/4-20 washers
- (2) 1/4-20 wing nuts
- Approximately 12/each – 5/8″ and 1 3/4″ wood screws
Feel free to substitute the wing nuts for those fancy $3 knobs in the hardware isle but when I can get wing nuts for about 10 cents each…well you get the picture.
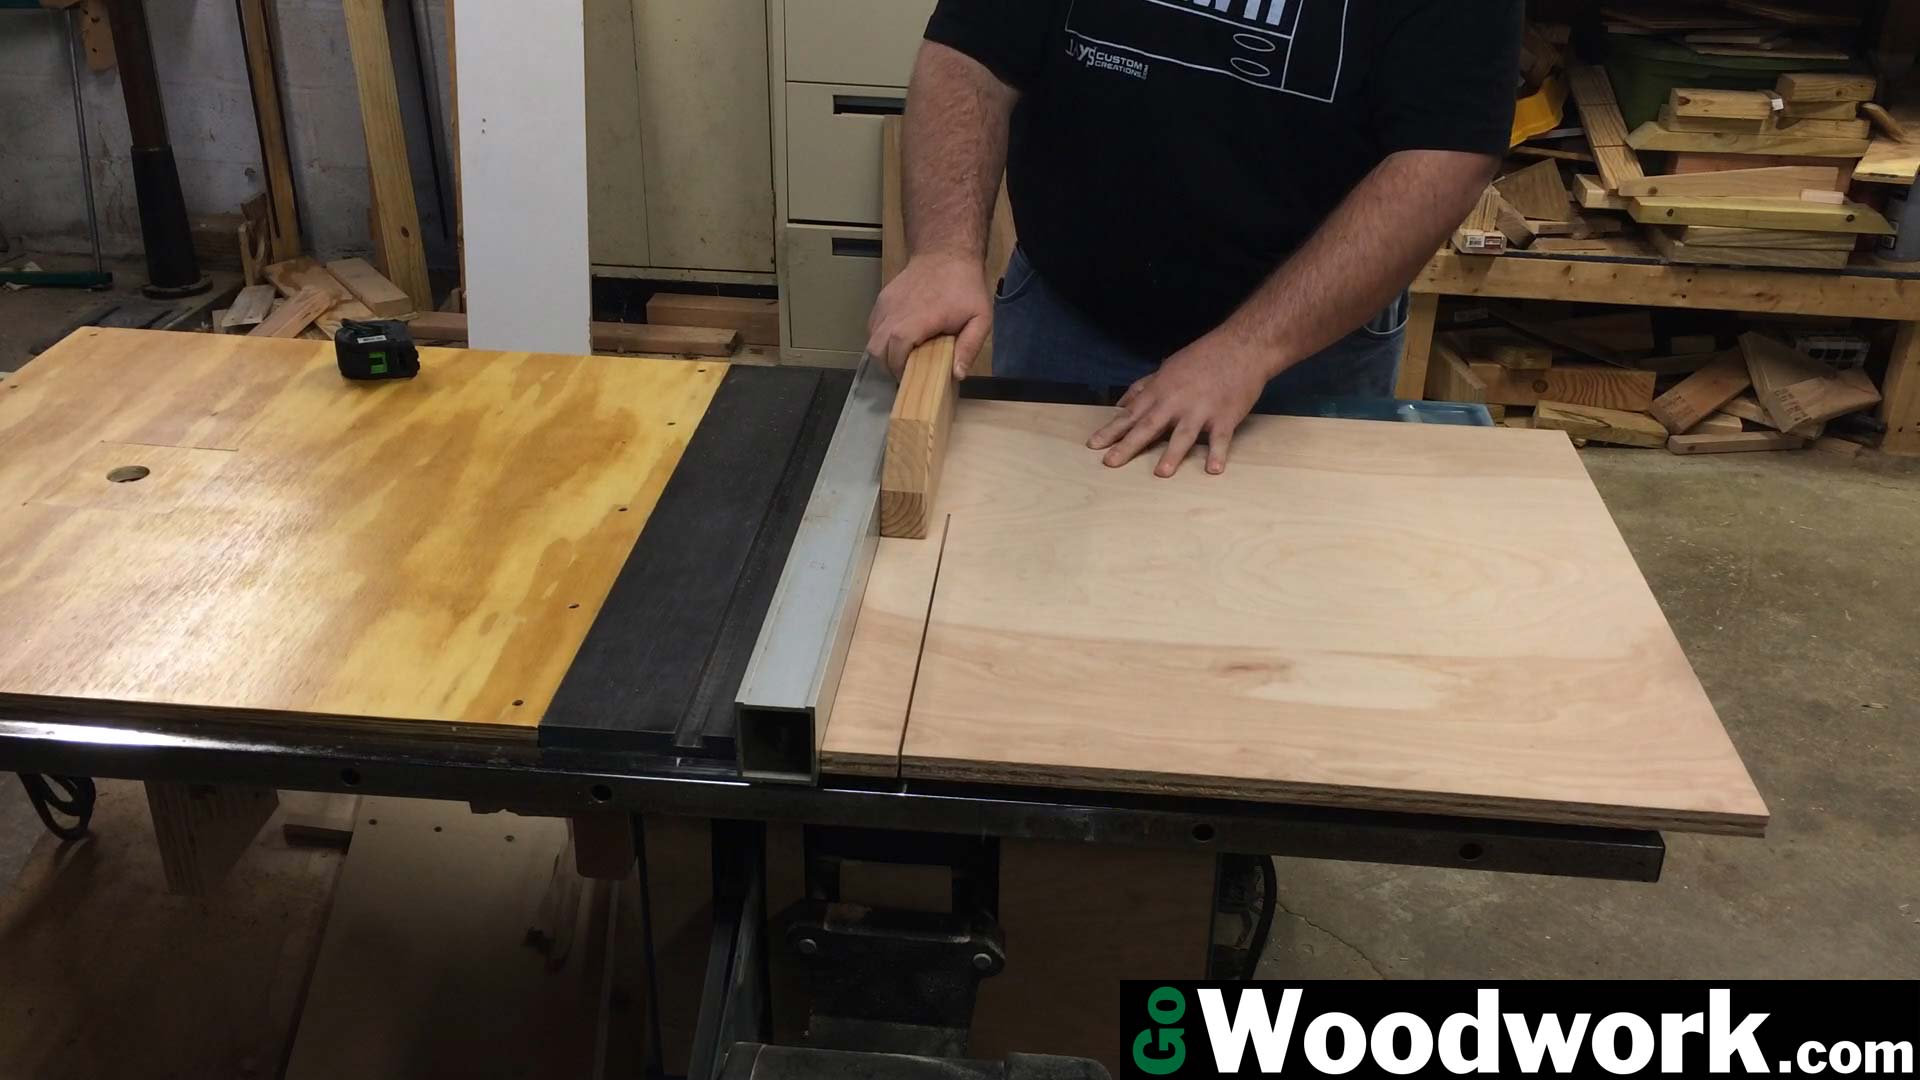
Begin by ripping the plywood down according to the cutting diagram available in the free plans below.
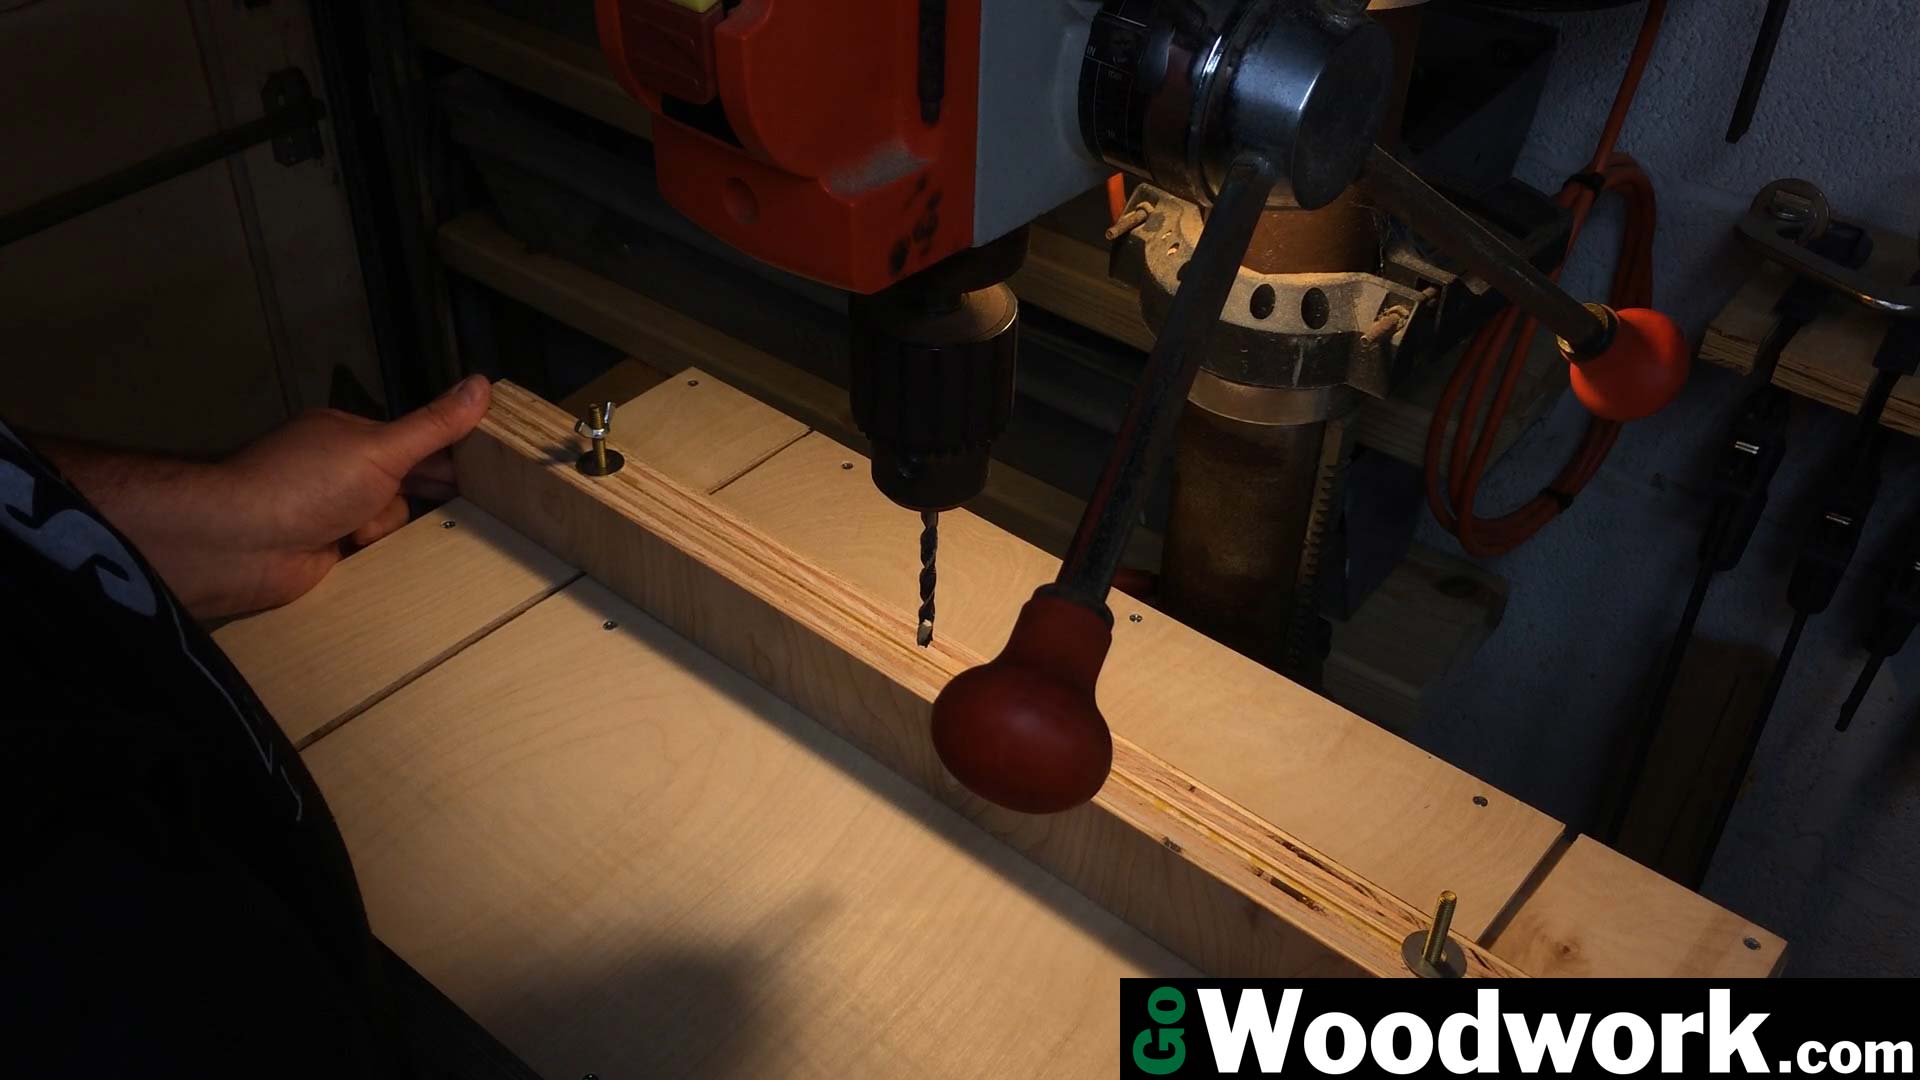
Measure and cut a 3/4″ dado on each side of the 3/4″ plywood. Ensure the dado will fit the toilet bolts since they tend to vary depending on the manufacturer.
This can be done with a router or table saw. I used a router because my table saw currently has a stripped arbor gear that prevents me from cutting less than 1/2″ deep.
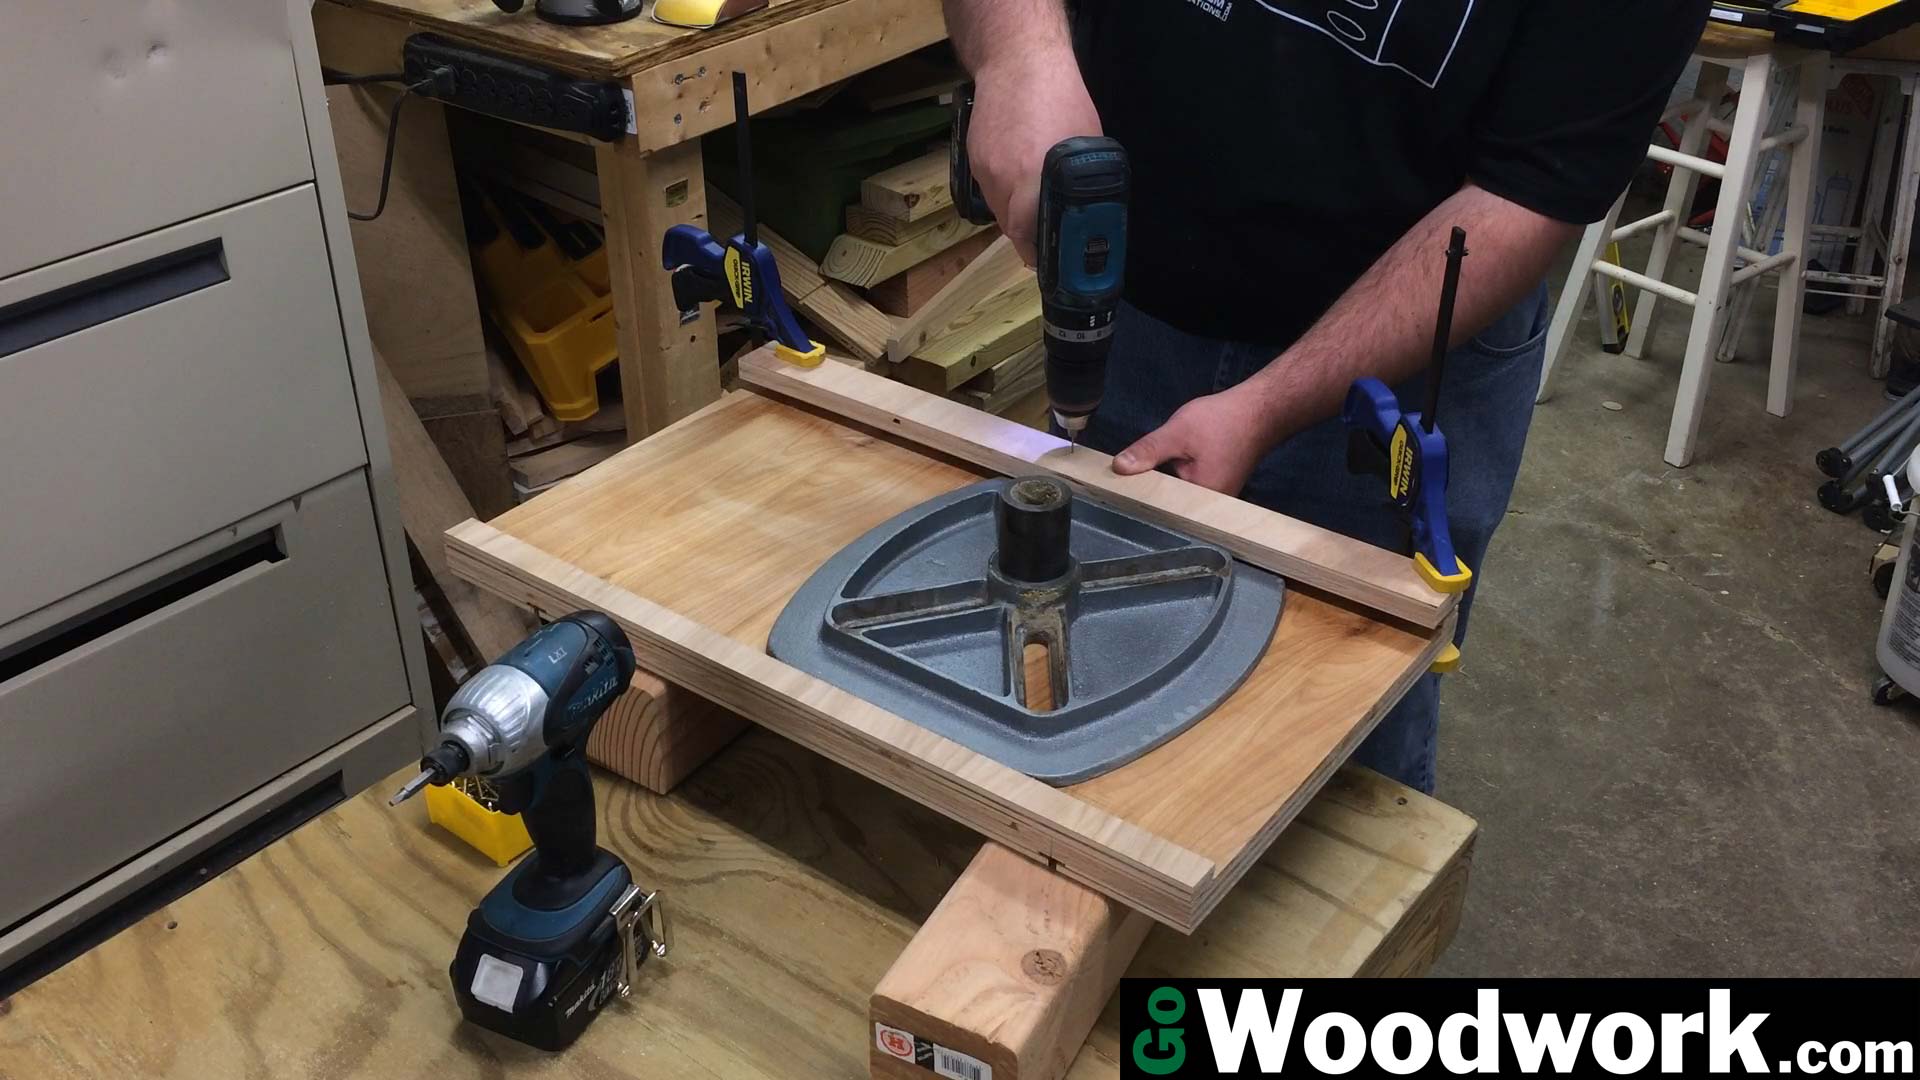
Attach the 1/4″ plywood to the 3/4″ using small screws. I decided to screw this rather than glue it in case I need to replace the top. I didn’t include a replaceable insert because I always use an auxiliary backer board when drilling. If the top becomes too mangled, a replacement can be installed in 5 minutes for $5.
Cut a 1/4″ groove centered on each dado for the toilet bolt clearance.
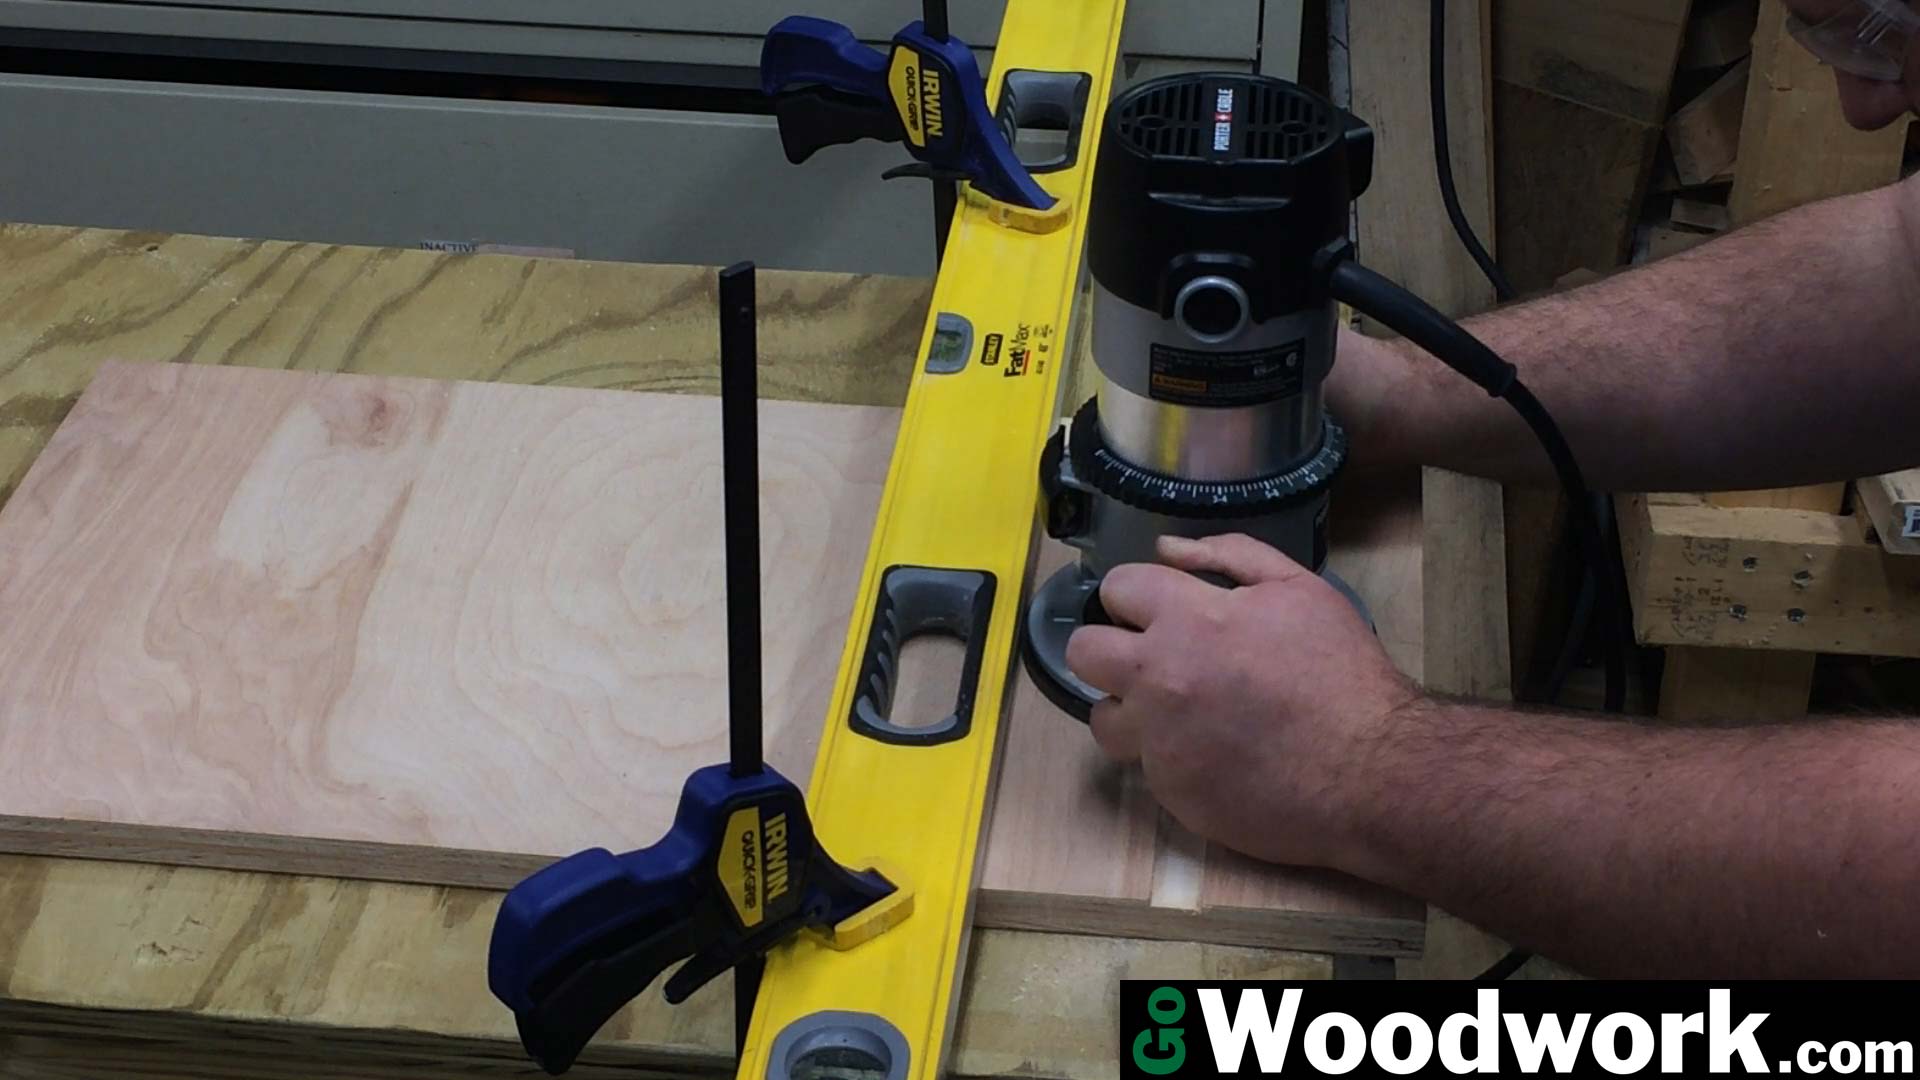
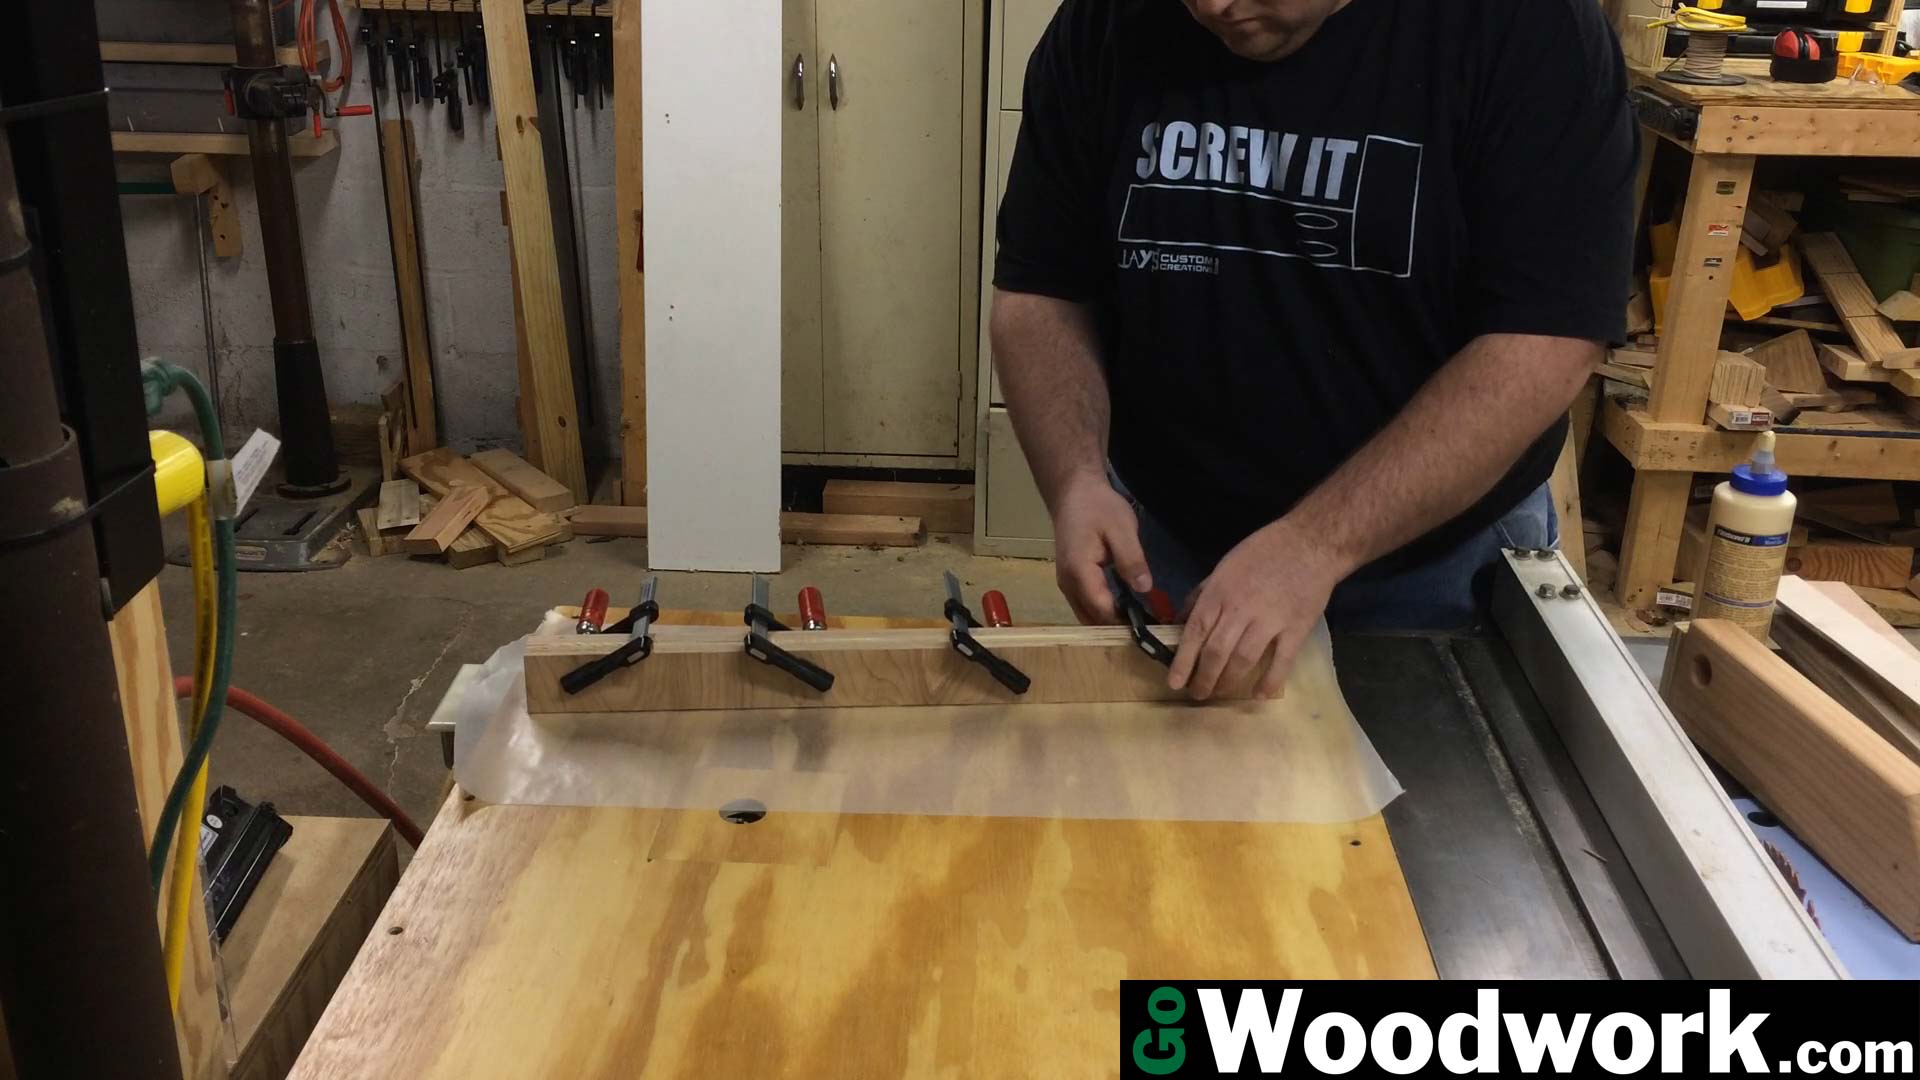
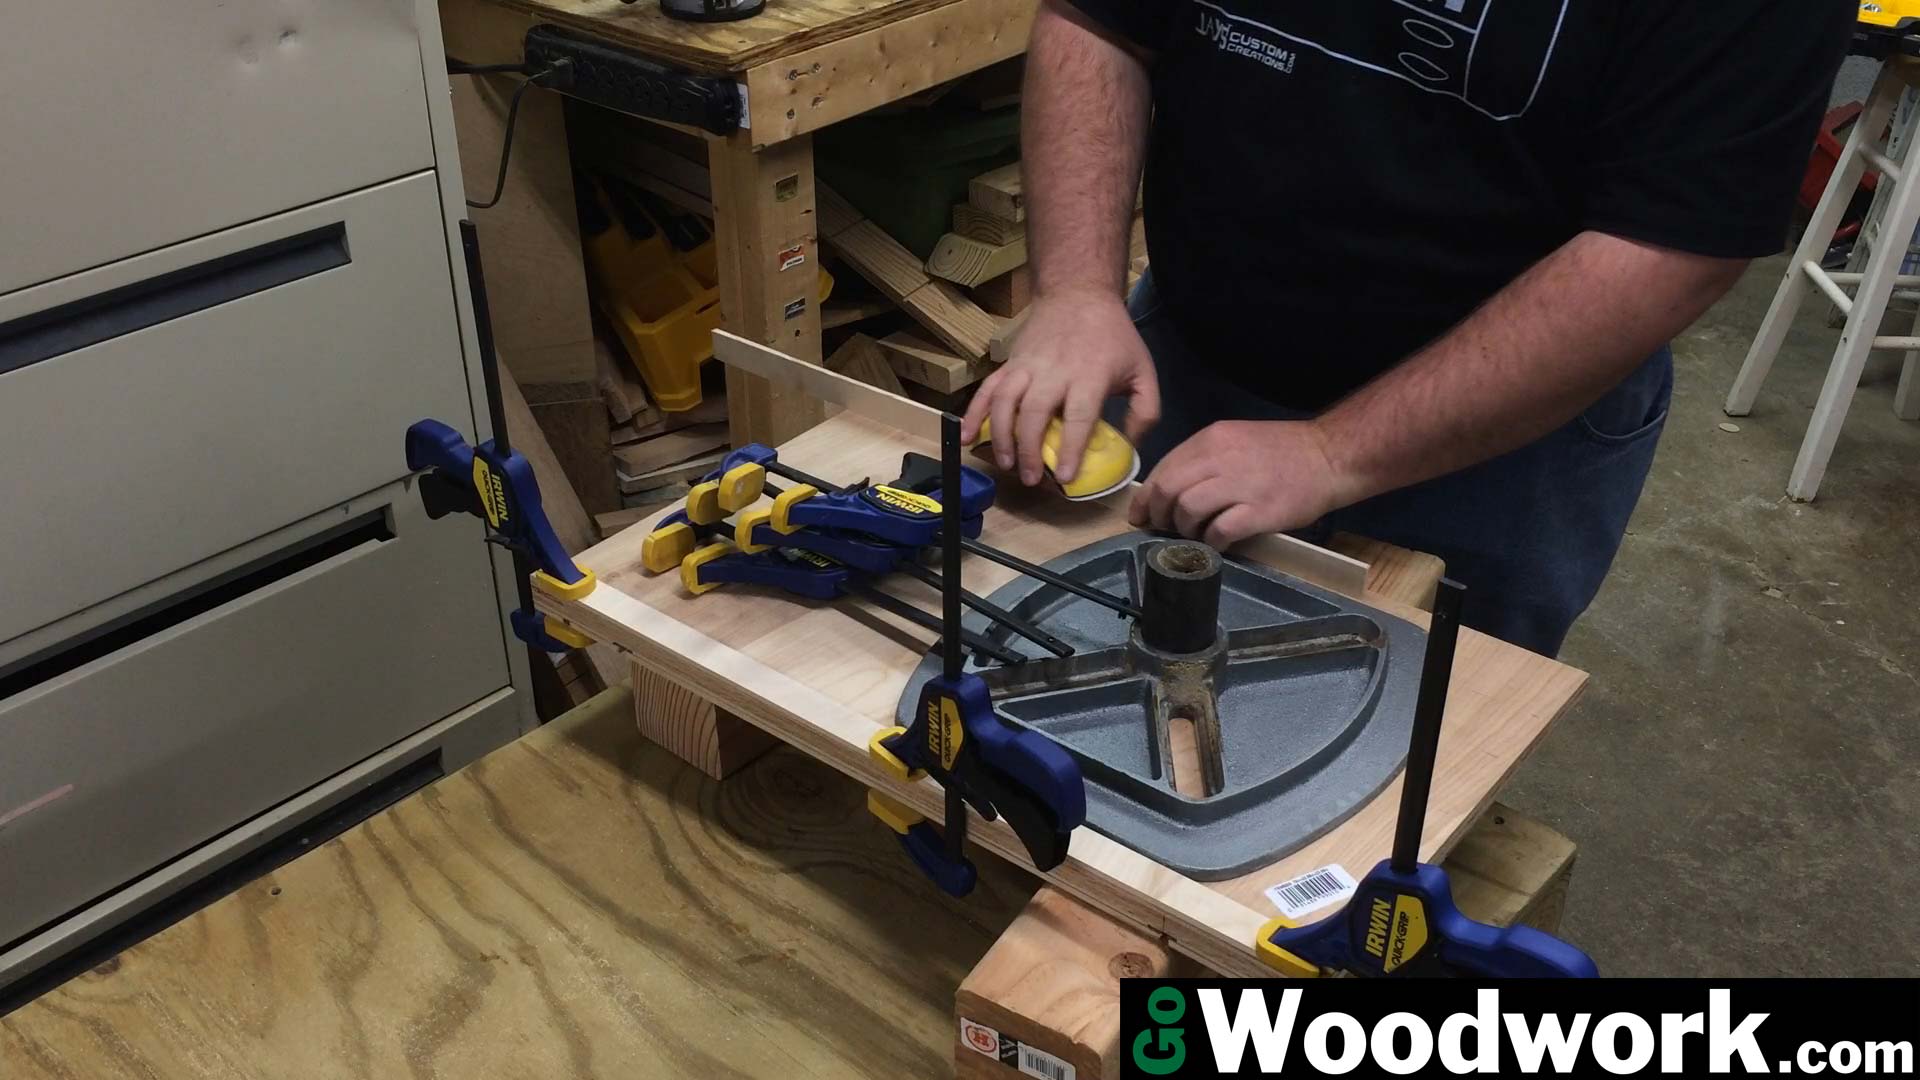
Glue the fence pieces together. You may wish to use a couple of brads to keep it aligned until clamps are in place.

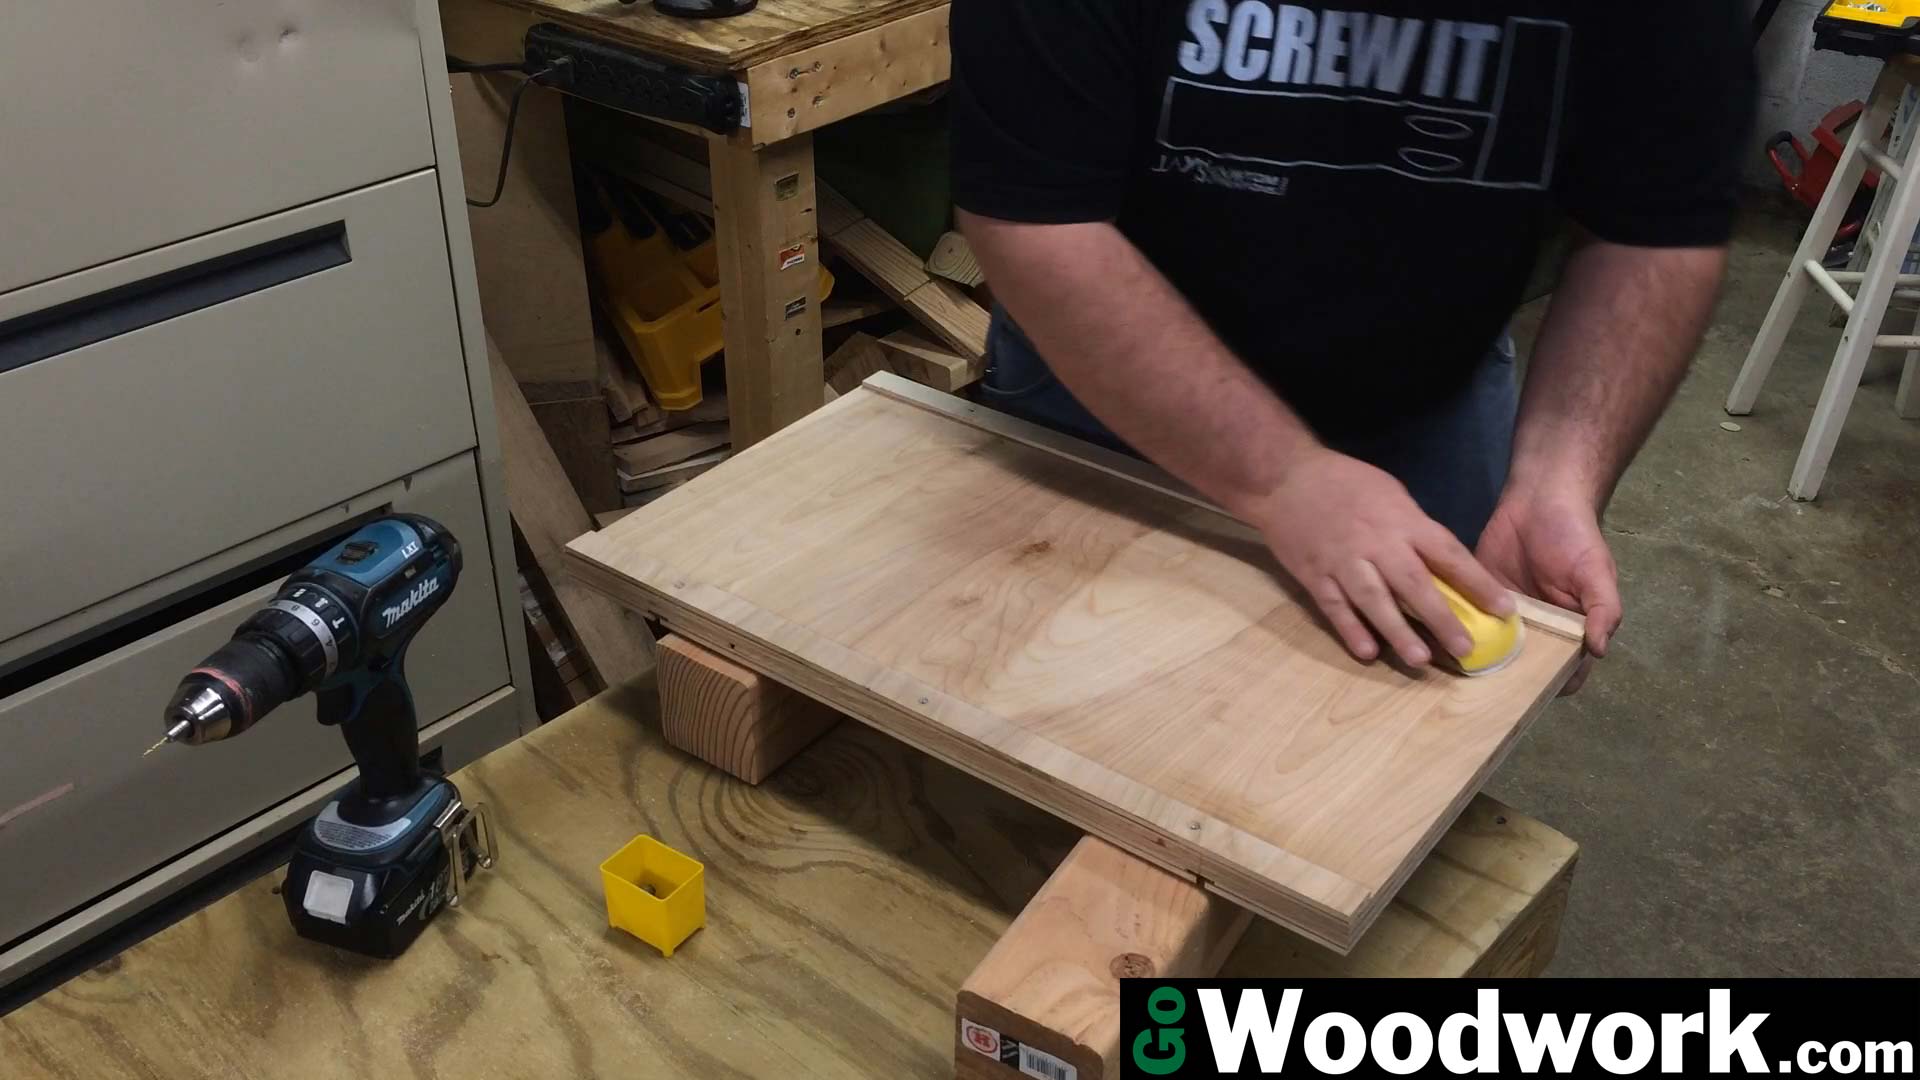
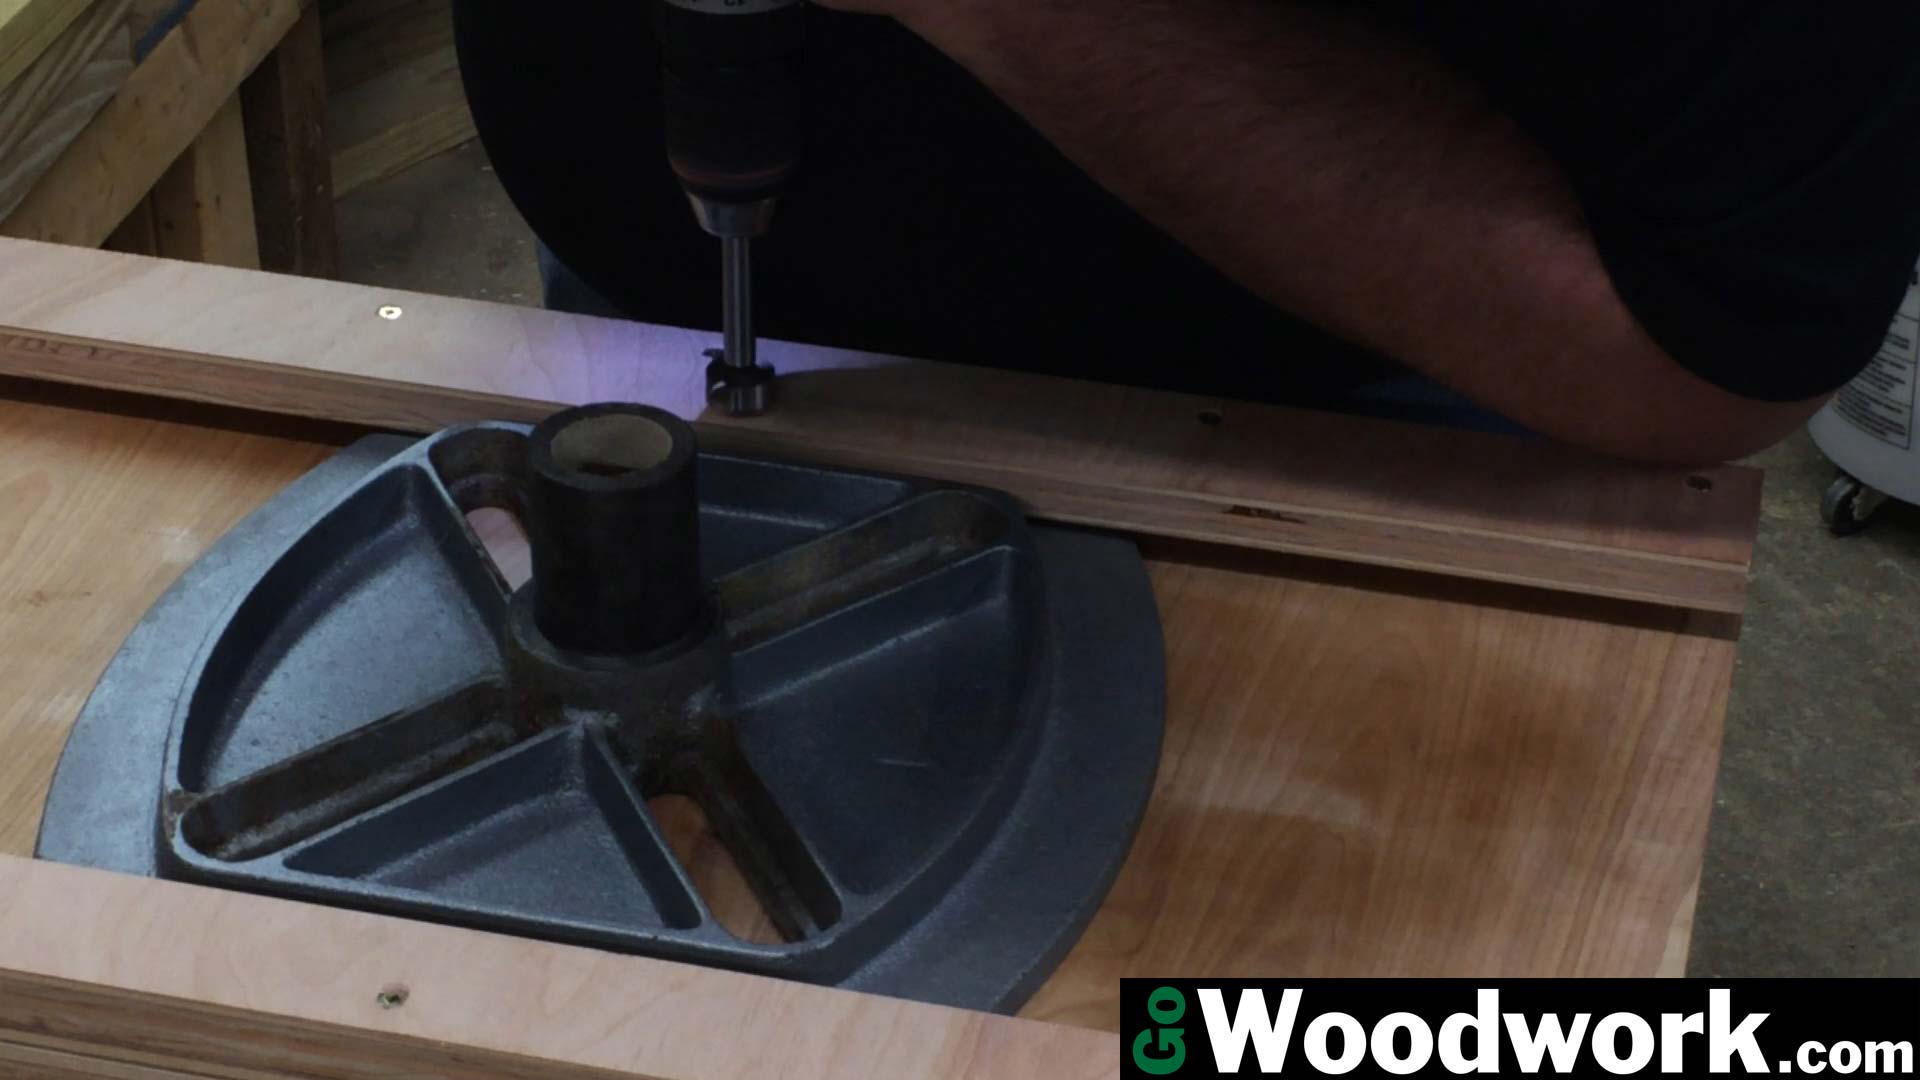
Position the 1/4″ plywood strips so the table slides freely. You may need to sand the edges to fit.
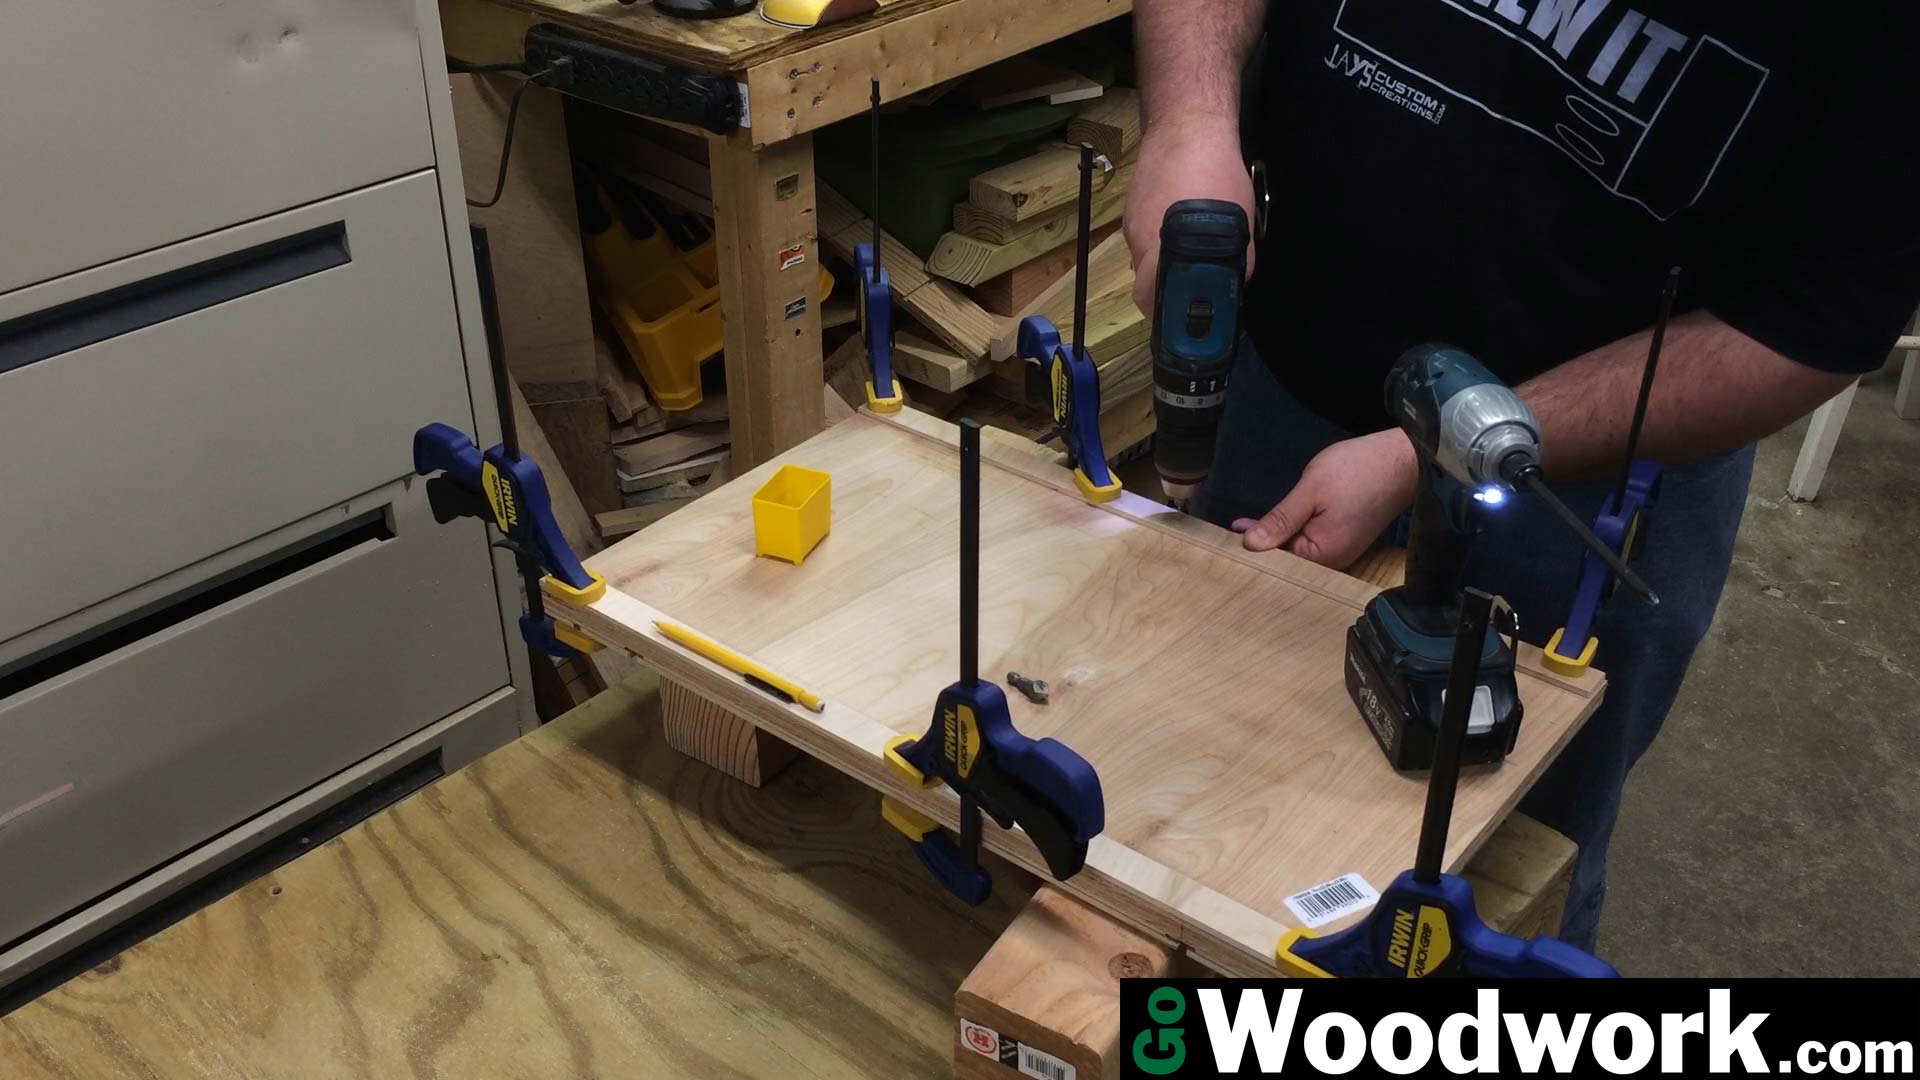
Attach the thin strips of plywood to the bottom of the table using screws.
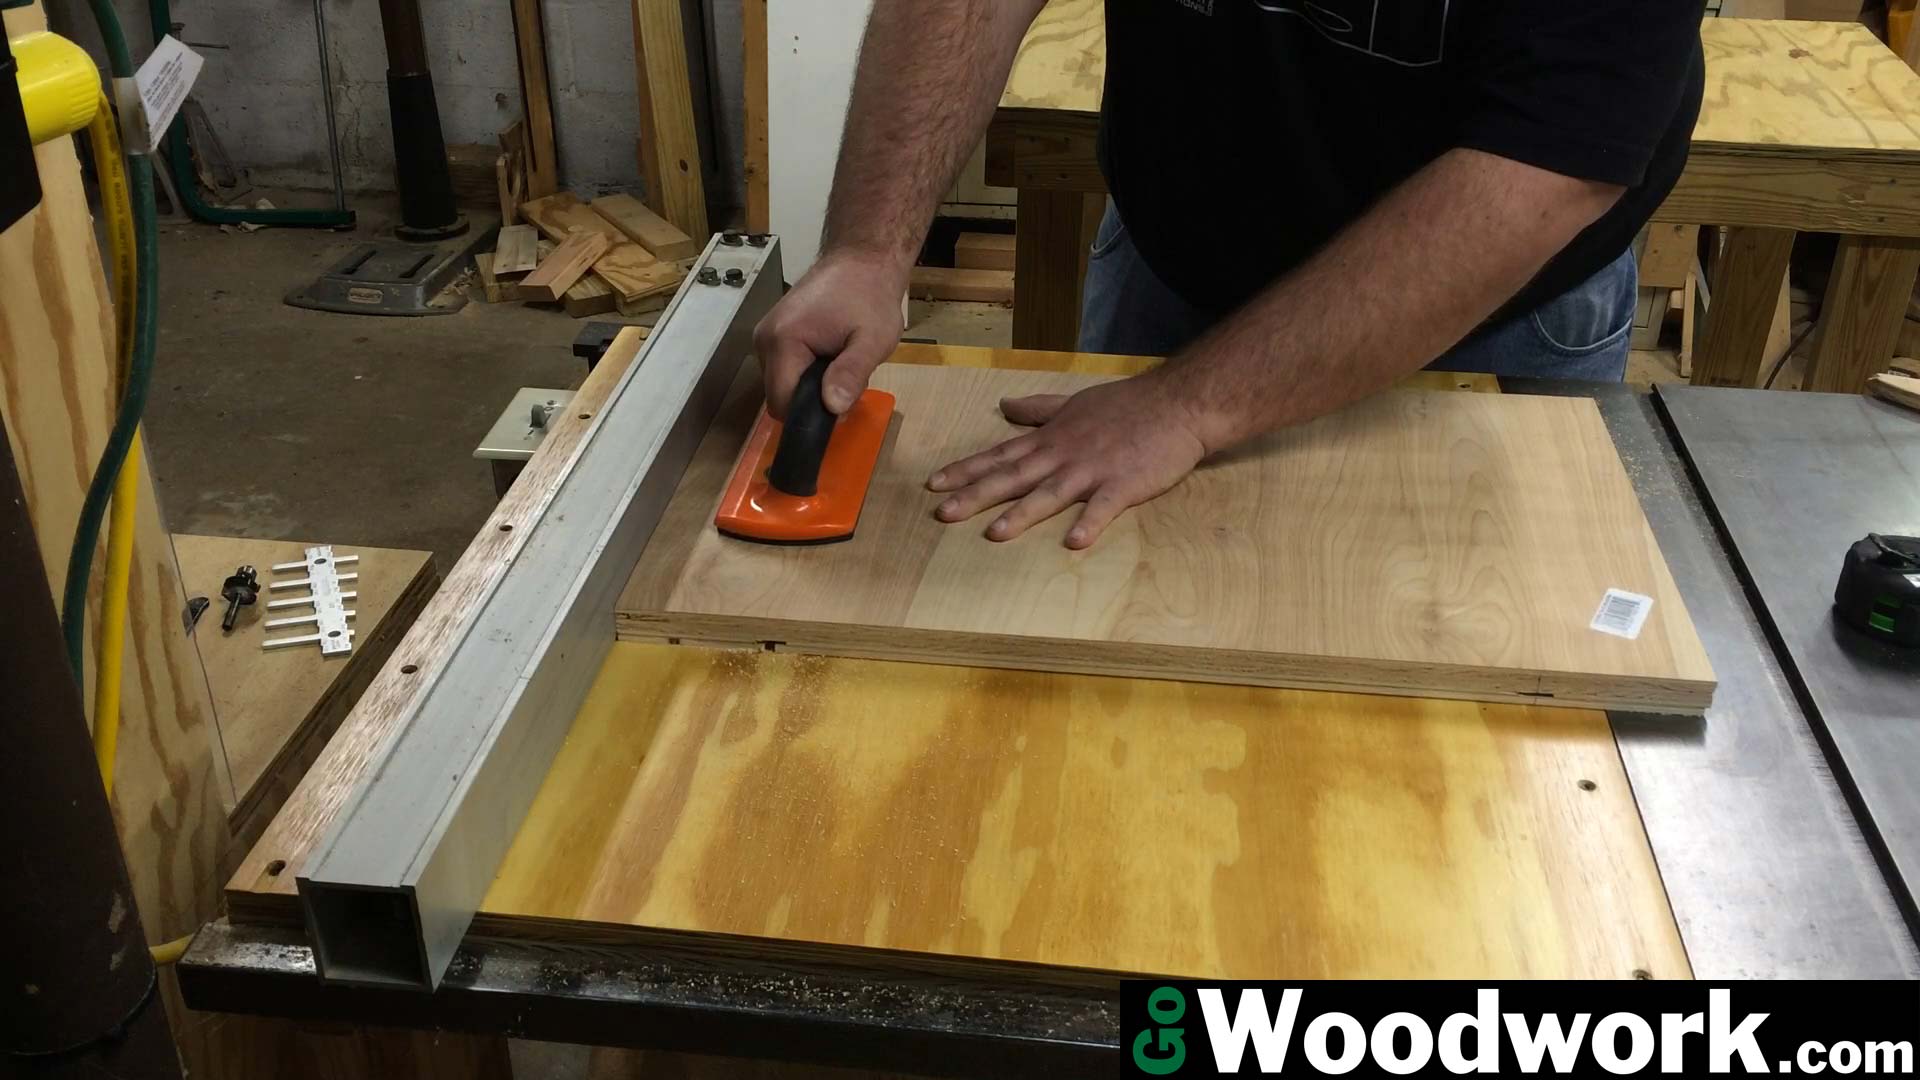
Even though I chose birch plywood, there are still a few rough spots. I sanded it at 240 grit just to knock anything down.
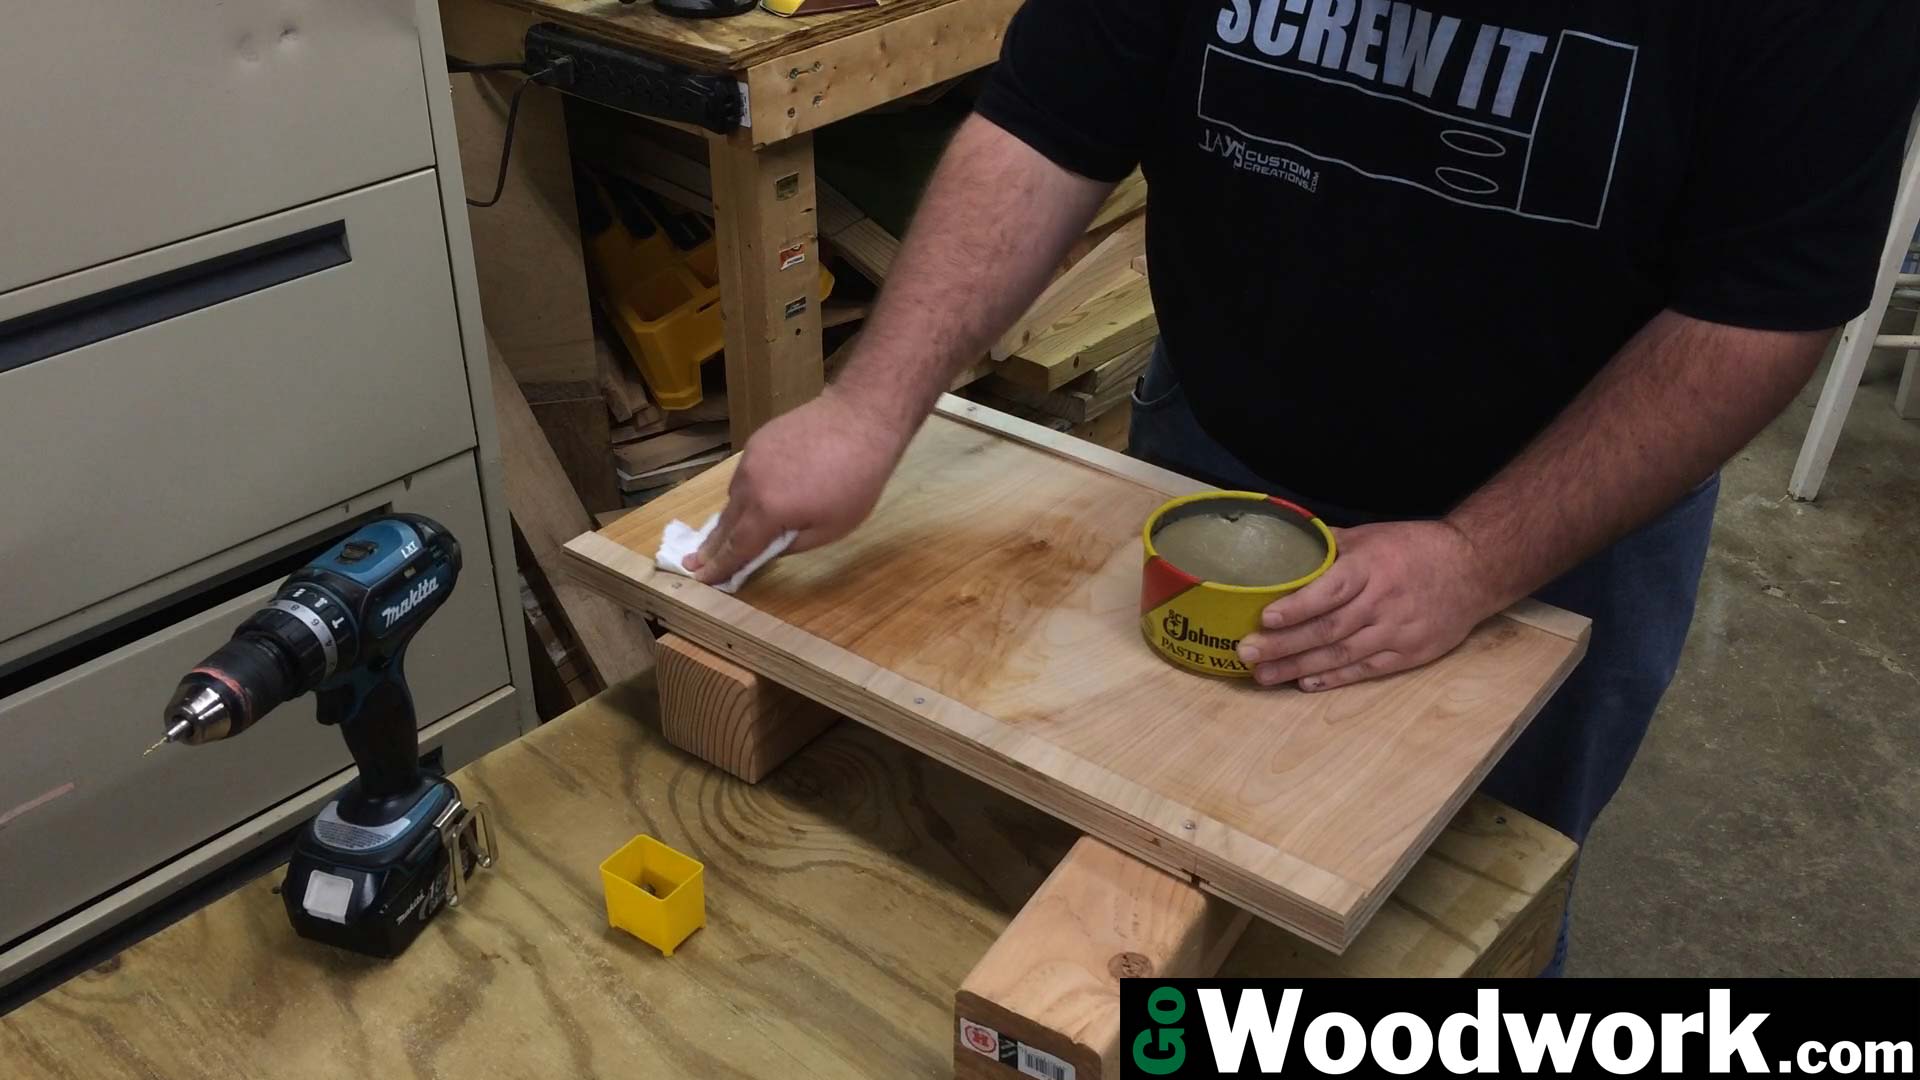
While not required, paste wax will help the table slide freely and keep the wood from absorbing a lot of moisture that cast iron loves to attract.
Depending on how thick your table is, you may need to add one or more additional 1/4″ plywood strips for clearance before adding the track plate. 1 3/4″ wood screws worked nicely to attach this.
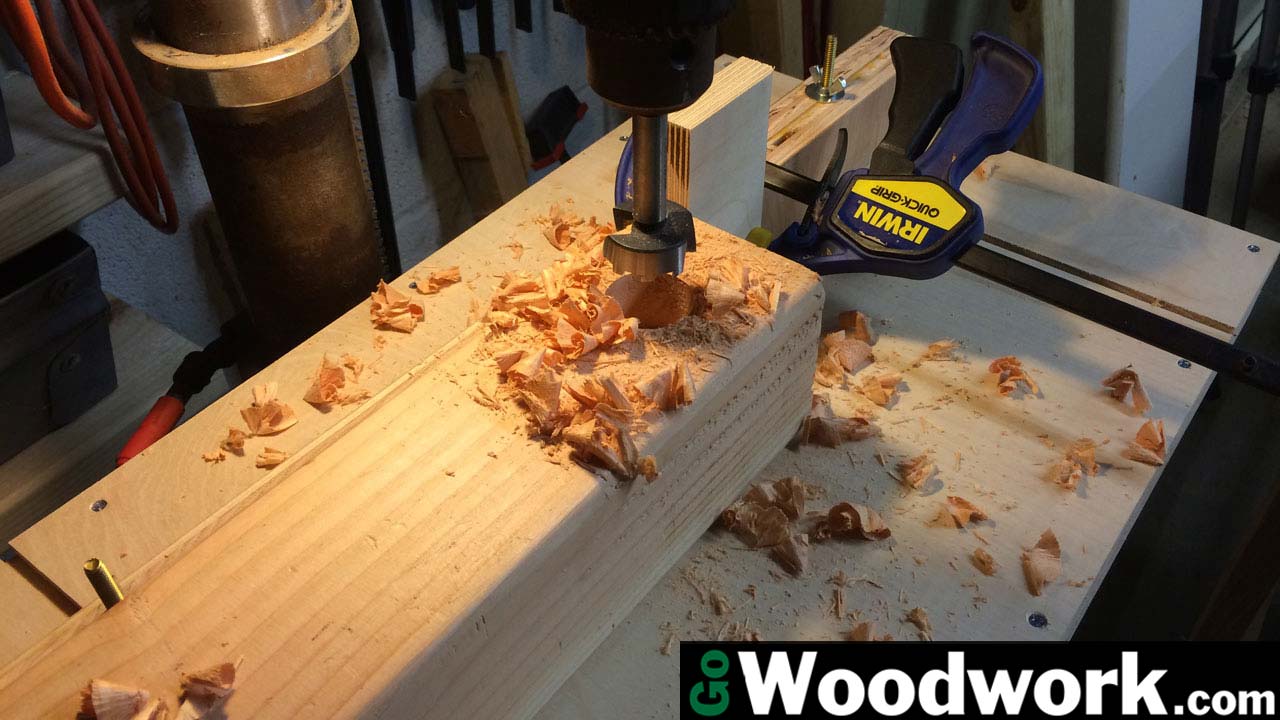
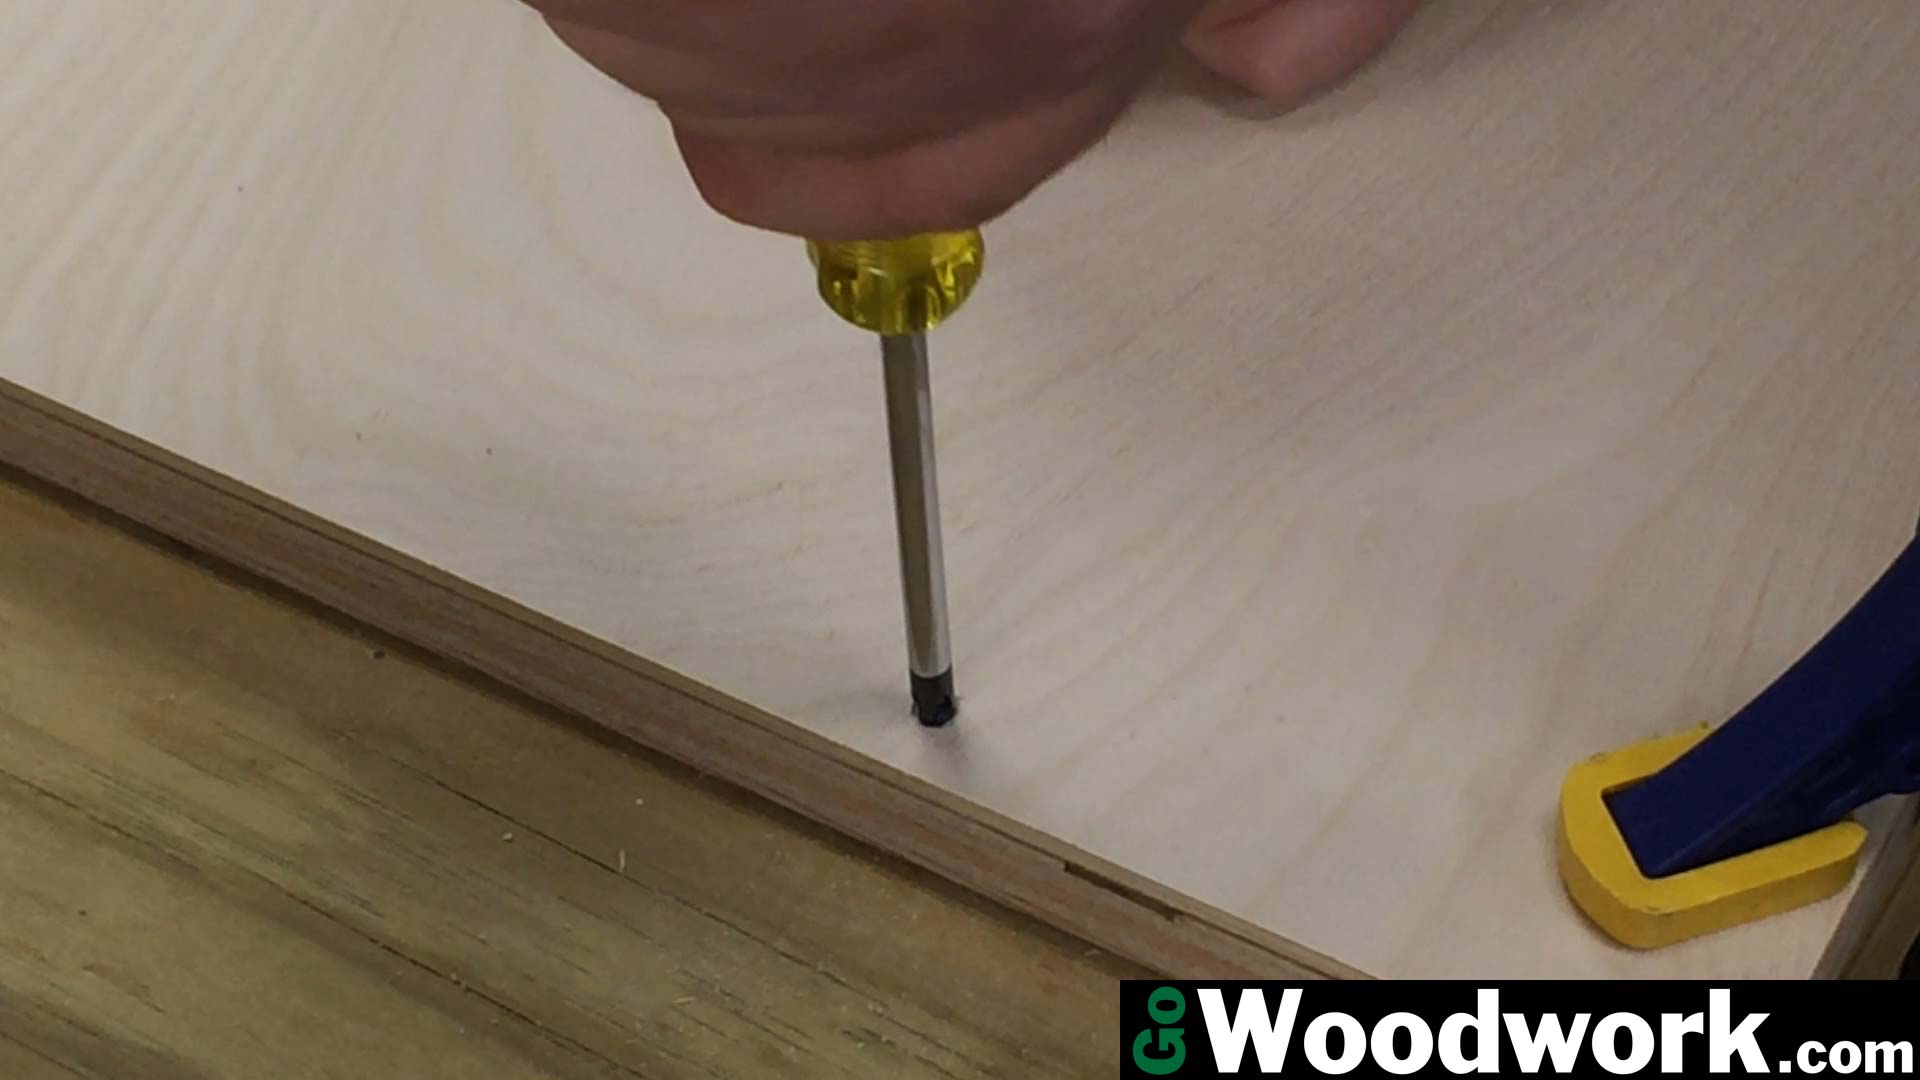
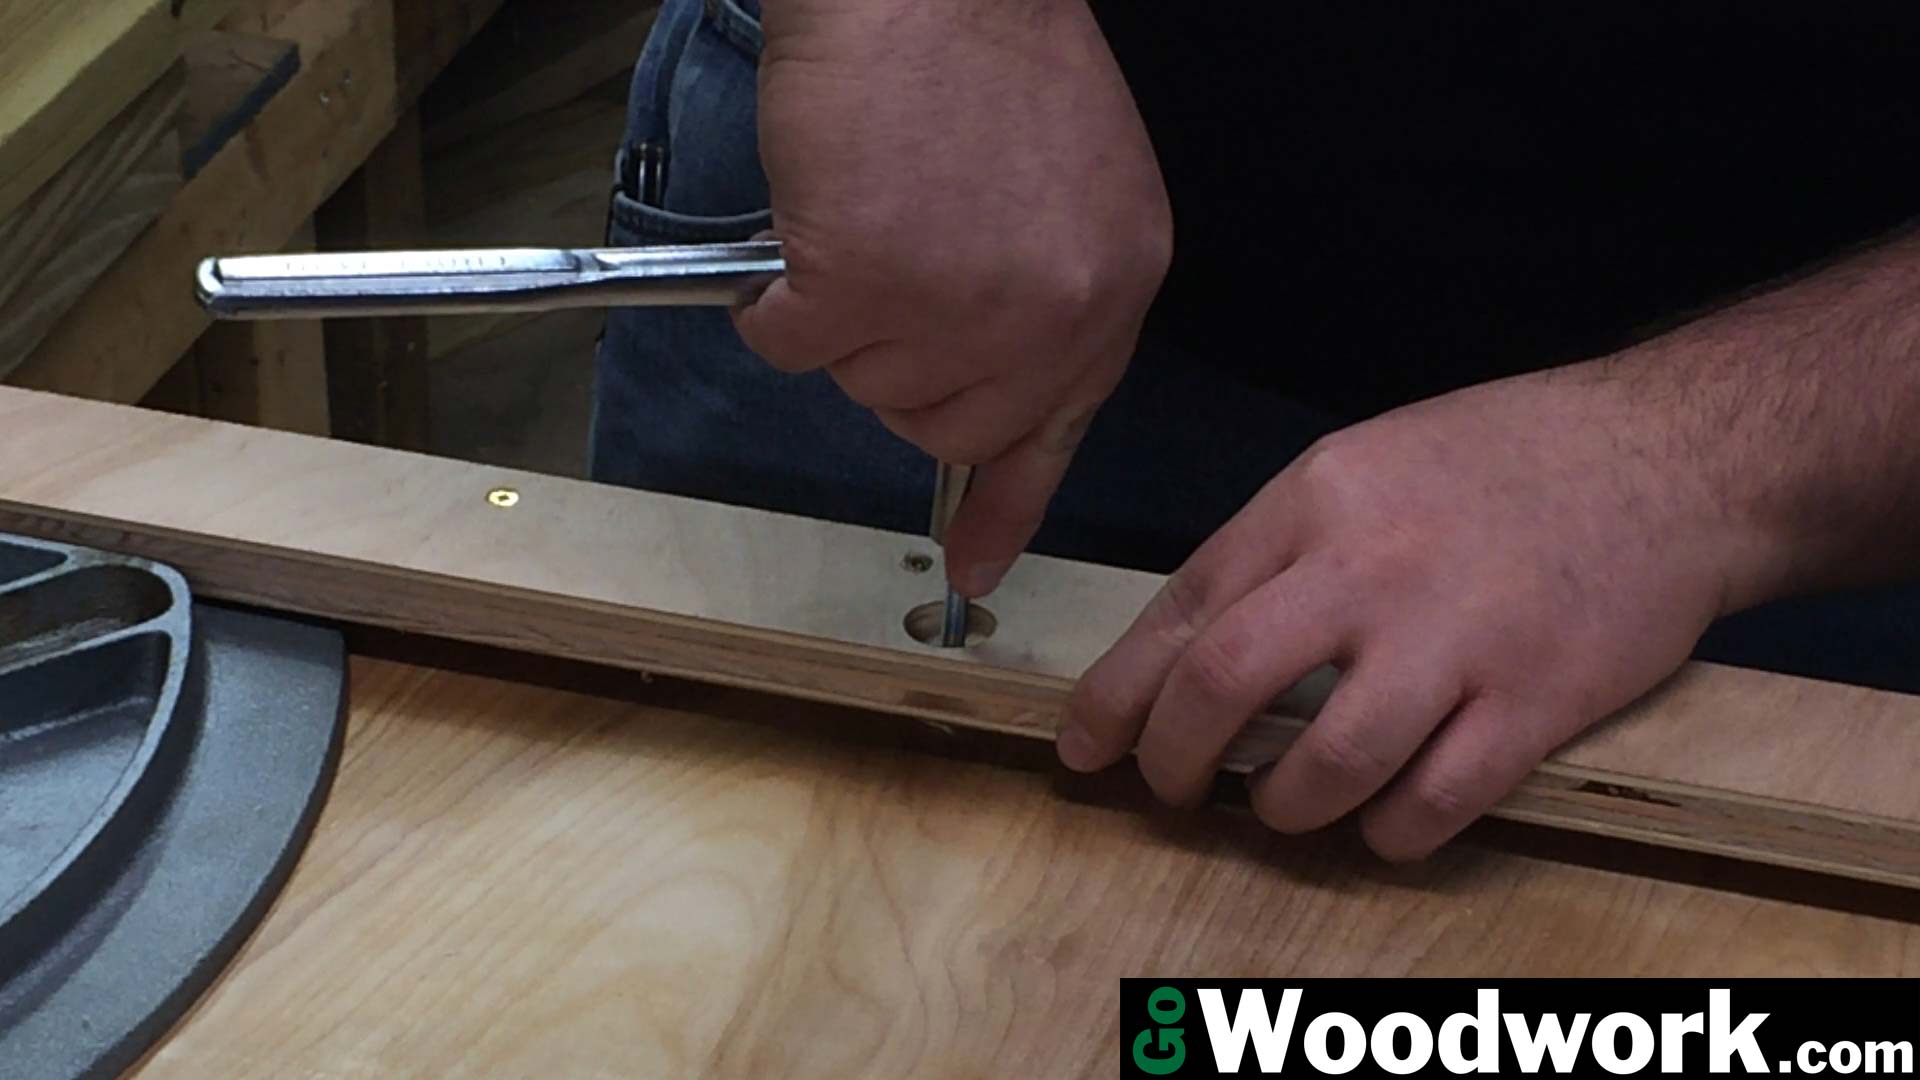
If you are unable to get a knob with a long shank, use a forstner bit to recess the knob. Follow that with a 3/16″ drill bit through the entire track plate.
Using a 1/4″-20 hex bolt, thread it into the plywood using a ratchet. Go slowly and you will not need to cut tap grooves into the bolt.
Scrape any excess glue from the fence assembly and sand as needed

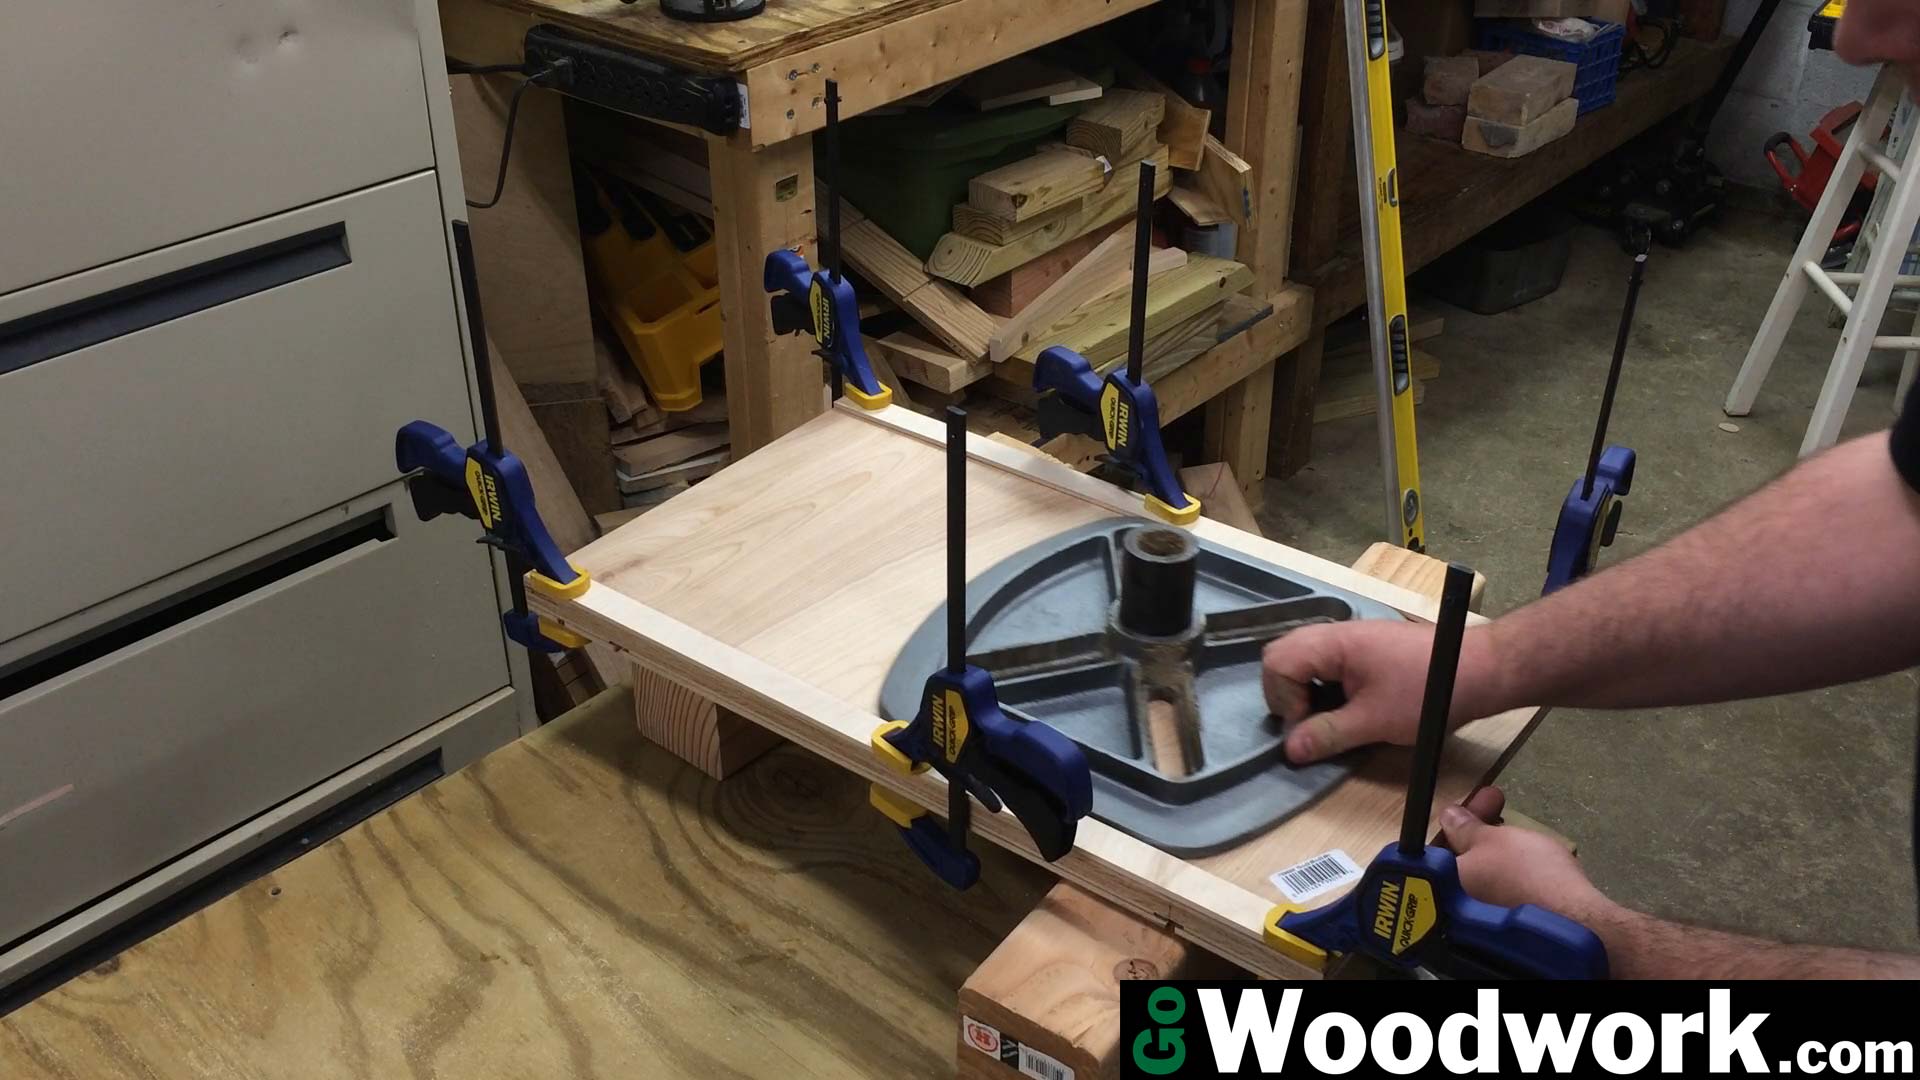
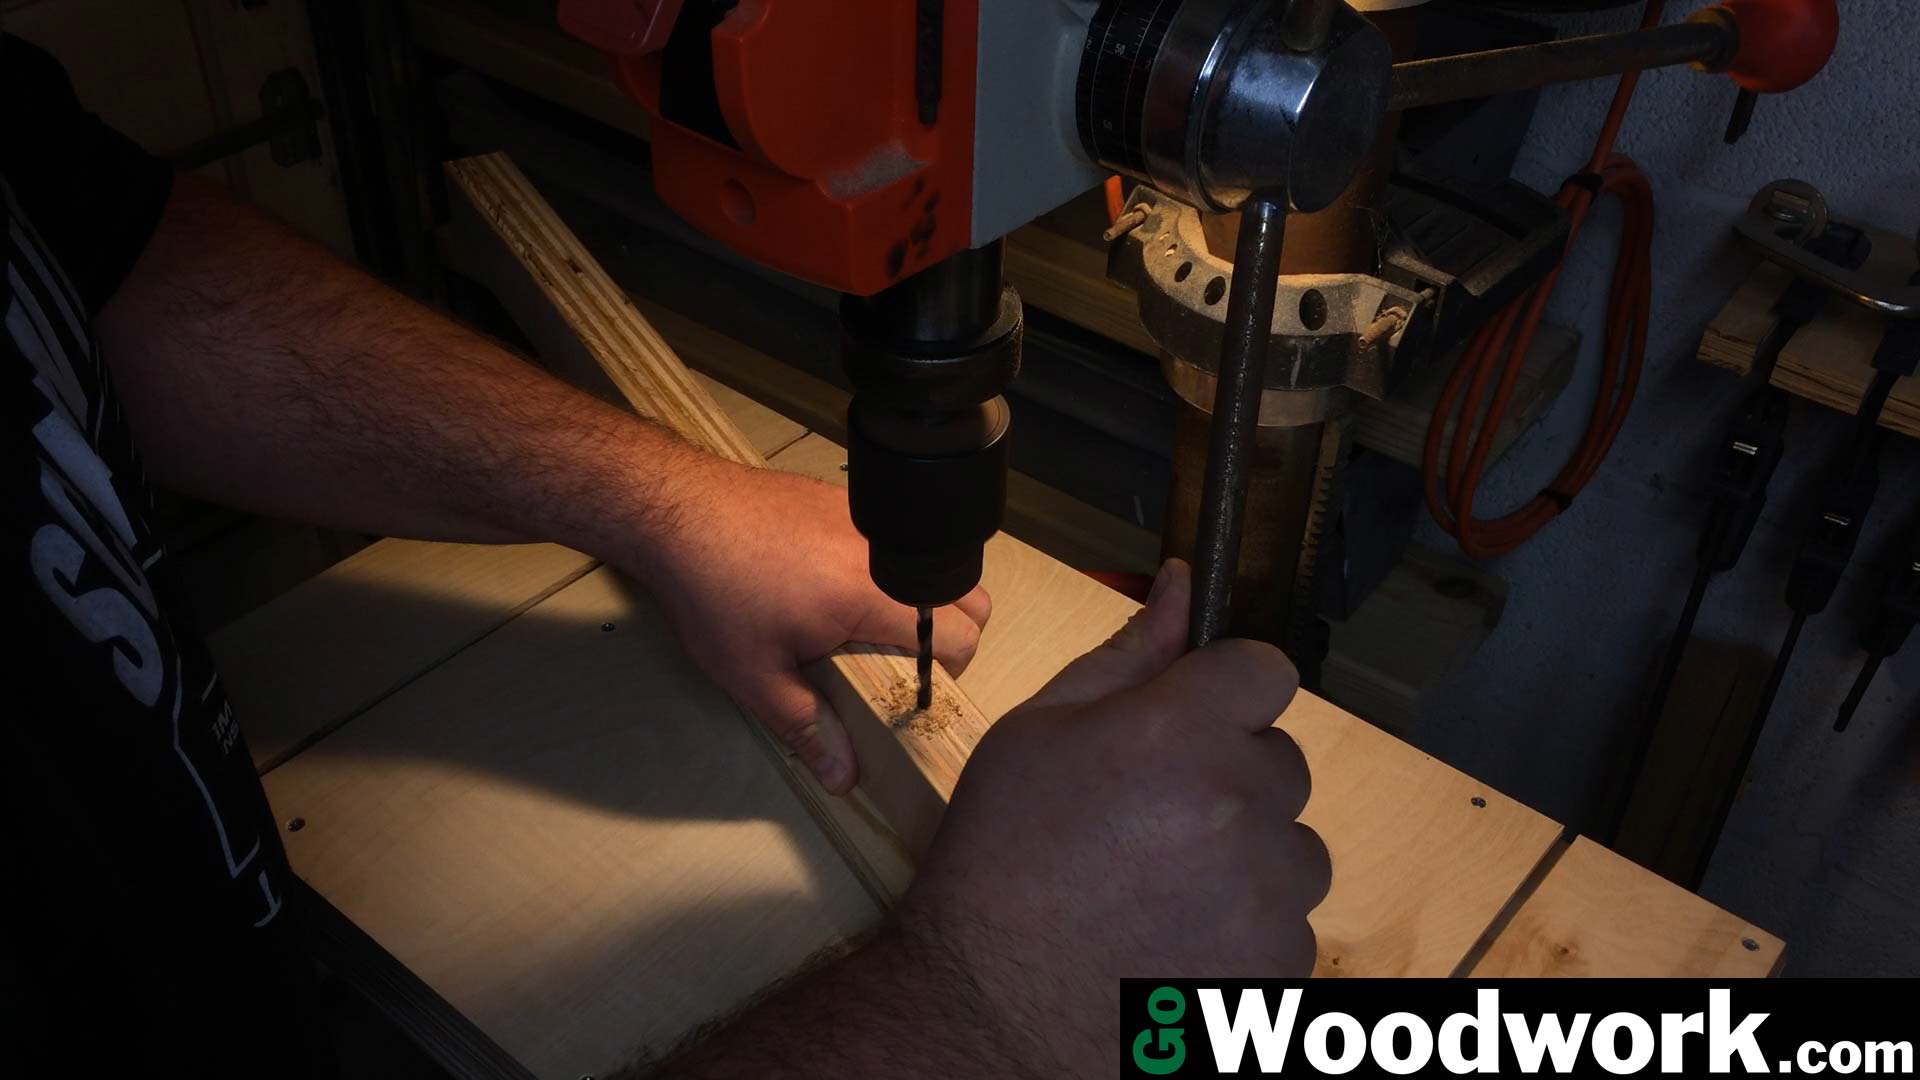
Line up the fence with the grooves on the table. Mark for a hole on the seam of the plywood. Drill a 1/4″ hole completely through.
Finish by installing the toilet bolts, washers, and wing nuts.