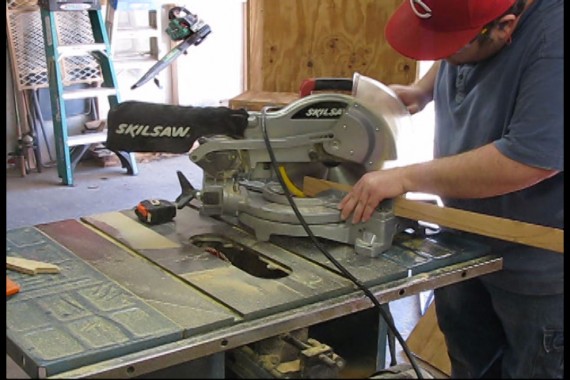
Aside from the table saw, the miter saw is probably the most versatile tool not only in your shop but on the trucks of carpenters around the world. The Skil miter saw that I own cuts great, keeps aligned properly without much hassle, and is rock solid. The biggest downfall is dust collection….well rather lack thereof. Just cutting out the pieces for one of Jay’s Benches, left the shop covered in a layer of dust. The included bag simply does not catch a lot of the dust nor does the blade’s safety/dust shroud contain it very well either.
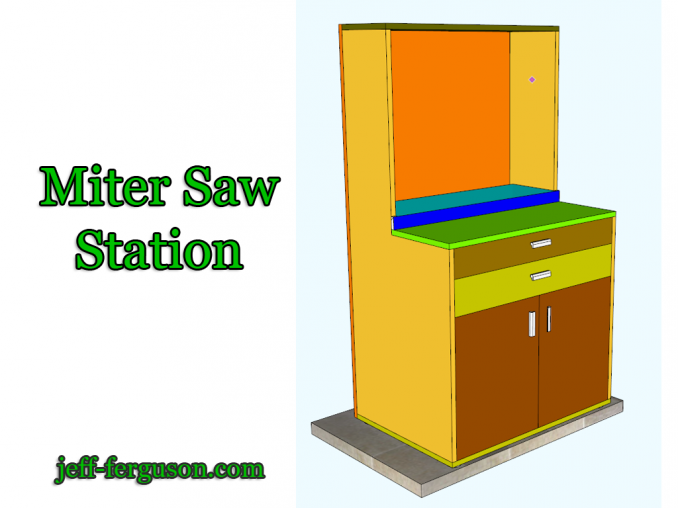
Building upon a design by John Heisz, I’ve decided to incorporate some additional storage below the saw as well as adding a dust shroud around the saw to further capture and eliminate dust flying back in my face and around the shop. The shroud will need to be custom designed to fit your saw and to get the best results, be removable, so you can get great results on 90 degree cuts but adjust it for angled cuts since you will need more clearance for the saw with the blade angled.
My decision to only have a small support table on the left side of my blade led me to design it so that the saw’s bed is even with my table saw. This gives me not only the ability to support the piece but also use the table saw’s fence as a positive stop. This gives me around 50″ of usable range to use the table saw’s fence as a stop block. For longer pieces, I can remove the fence and support 16’+ on either side of the miter saw. I have included a build video showing my progress at the end of this article.
Materials:
- 3/4″ plywood, 2 sheets
- 1/2″ plywood, 1 sheet
- Hardwood 5″ x 20 3/4″ (softwood also fine, this is for drawer runners)
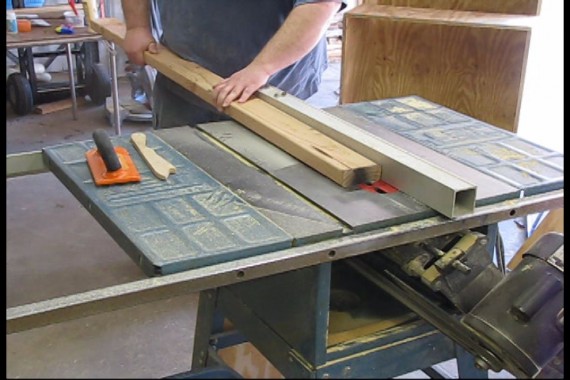
- Softwood, 2″ x 4″ x 48″ (angled dust containment rails)
- About 50, 1 1/4″ pocket hole screws, #8 coarse thread (washer head)
- About 25, 1″ pocket hole screws, #7 coarse thread (pan head)
Note: I have a Kreg jig and love it but I always use either wood glue or construction adhesive and this occasion is no exception. Feel free to butt the joints up and screw/glue or get fancy with rabbets and dados. Before purchasing a Kreg jig I would’ve probably just butted everything up and used screws/glue and called it a day. (Make sure if you do go rabbet/dado that you adjust your dimensions accordingly!)
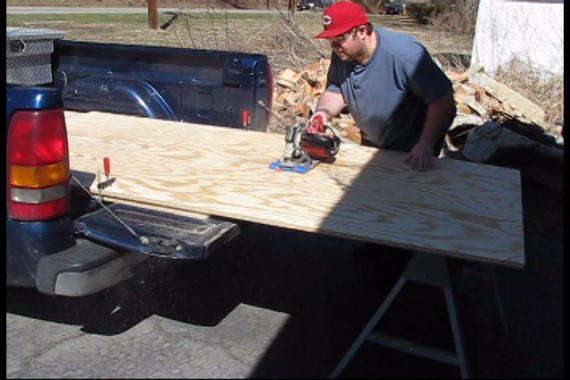
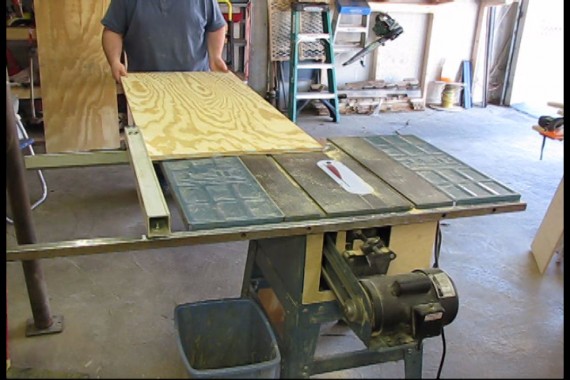
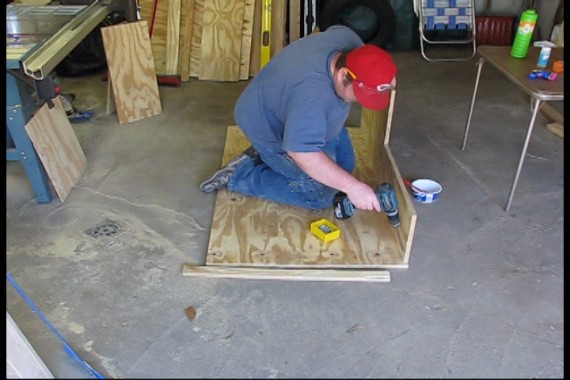
I cut the sheet goods out according to my cut list I generated in Sketchup first ripping them to rough size and finishing on the table saw. The back doesn’t really have to be 3/4″ but it will make this thing crazy strong!
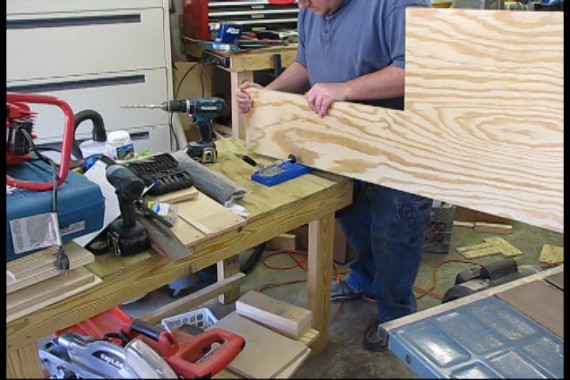
Using the cut list, mark places for all the pocket holes. With this many to drill, I made sure to hook up my vac and cyclone.
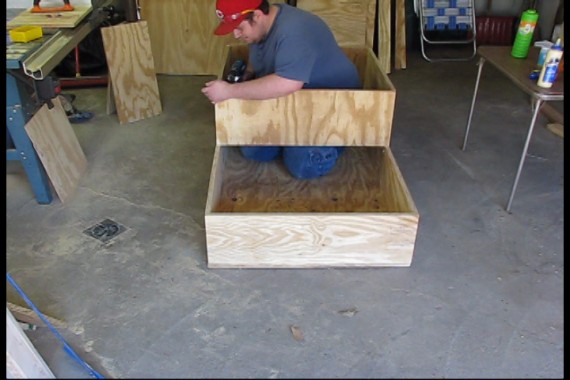
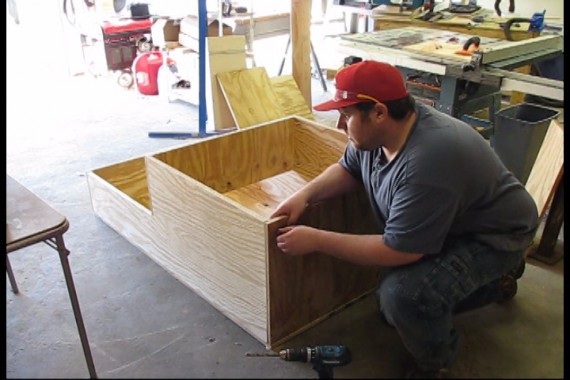
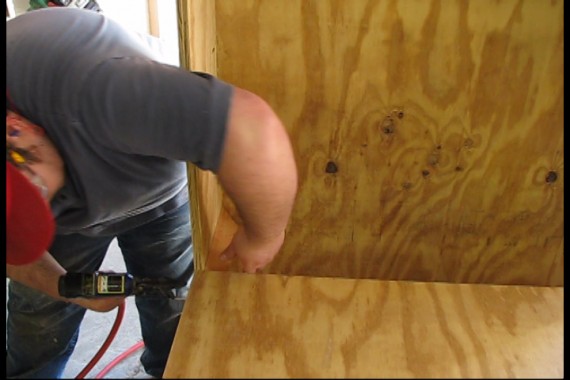
With everything cut and ready to go, it was time for some assembly. Everything is pretty straight forward, joining the “L” sides, top, and bottom using screws and glue. Adding the saw base really adds some rigidity to the frame.
Installing the top adds a huge amount of rigidity to the sides to keep them from bowing.
The shop’s floor isn’t level and is prone to a bit of water seepage under the doors. These leveling feet will solve both problems for under $3.00 for a set of four.
While not completely necessary, having a beveled apron around the top of the saw dust area will aid in keeping the dust off the sides of the dust drawer.
These will not get much wear so a bit of glue and some brads to finish it off.
In part 2, I’ll complete the dust shroud, cabinet drawers and doors.
Thanks for reading!
Download Miter Saw Station Sketchup plans